One Garden – Some Assembly Required
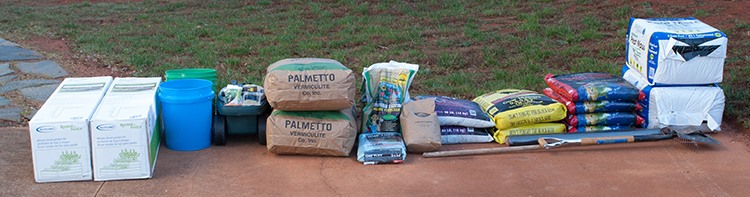
Sunday morning, ready to get it together! What is all of that?
How will we do this?
OK – first decision made – I’m going to follow the Square Foot Gardening method as closely as possible.
This means that raised bed gardens will be the way to go. This eliminates having to till our clay soil, and ensures that the growing material will be ideal for vegetables. I’ll try to match the recommended mix for the growing material, which is 1/3 compost, 1/3 peat moss, and 1/3 coarse vermiculite. The compost should be from 5 different sources.
So – off I went to find these items. (Note that any pricing mentioned here is not any sort of guarantee. This documents what I chose and isn’t a recommendation of either a product or a vendor. I do not receive any commission from any of the included links, but have included them for your convenience/information)
My husband Greg is my accomplice in this project, so when I say “we”, he’s the second half of the team!
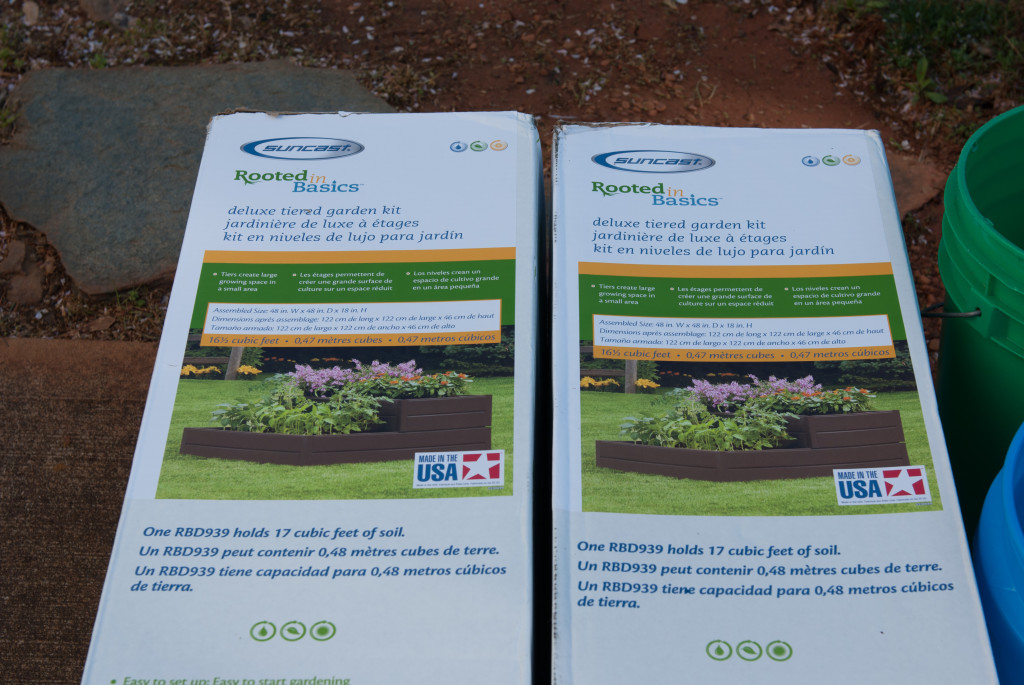
Raised Bed(s)
I found some that I loved at amazon.com (link here $79.14 each). These were deep enough (18″ on tall end) to grow carrots and potatoes and were reportedly easy to put together. After really thinking about our vegetable needs/wants, I chose to go with two 4’x4′ beds. These are the beds (in their boxes):
The Growing Medium
Getting the different composts and other items was a challenge, but I persevered. According to the box, each bed held 17 square feet of soil, so I tried to make that work. Each component needed to consist of 6 square feet of material. Here’s what I wound up with:
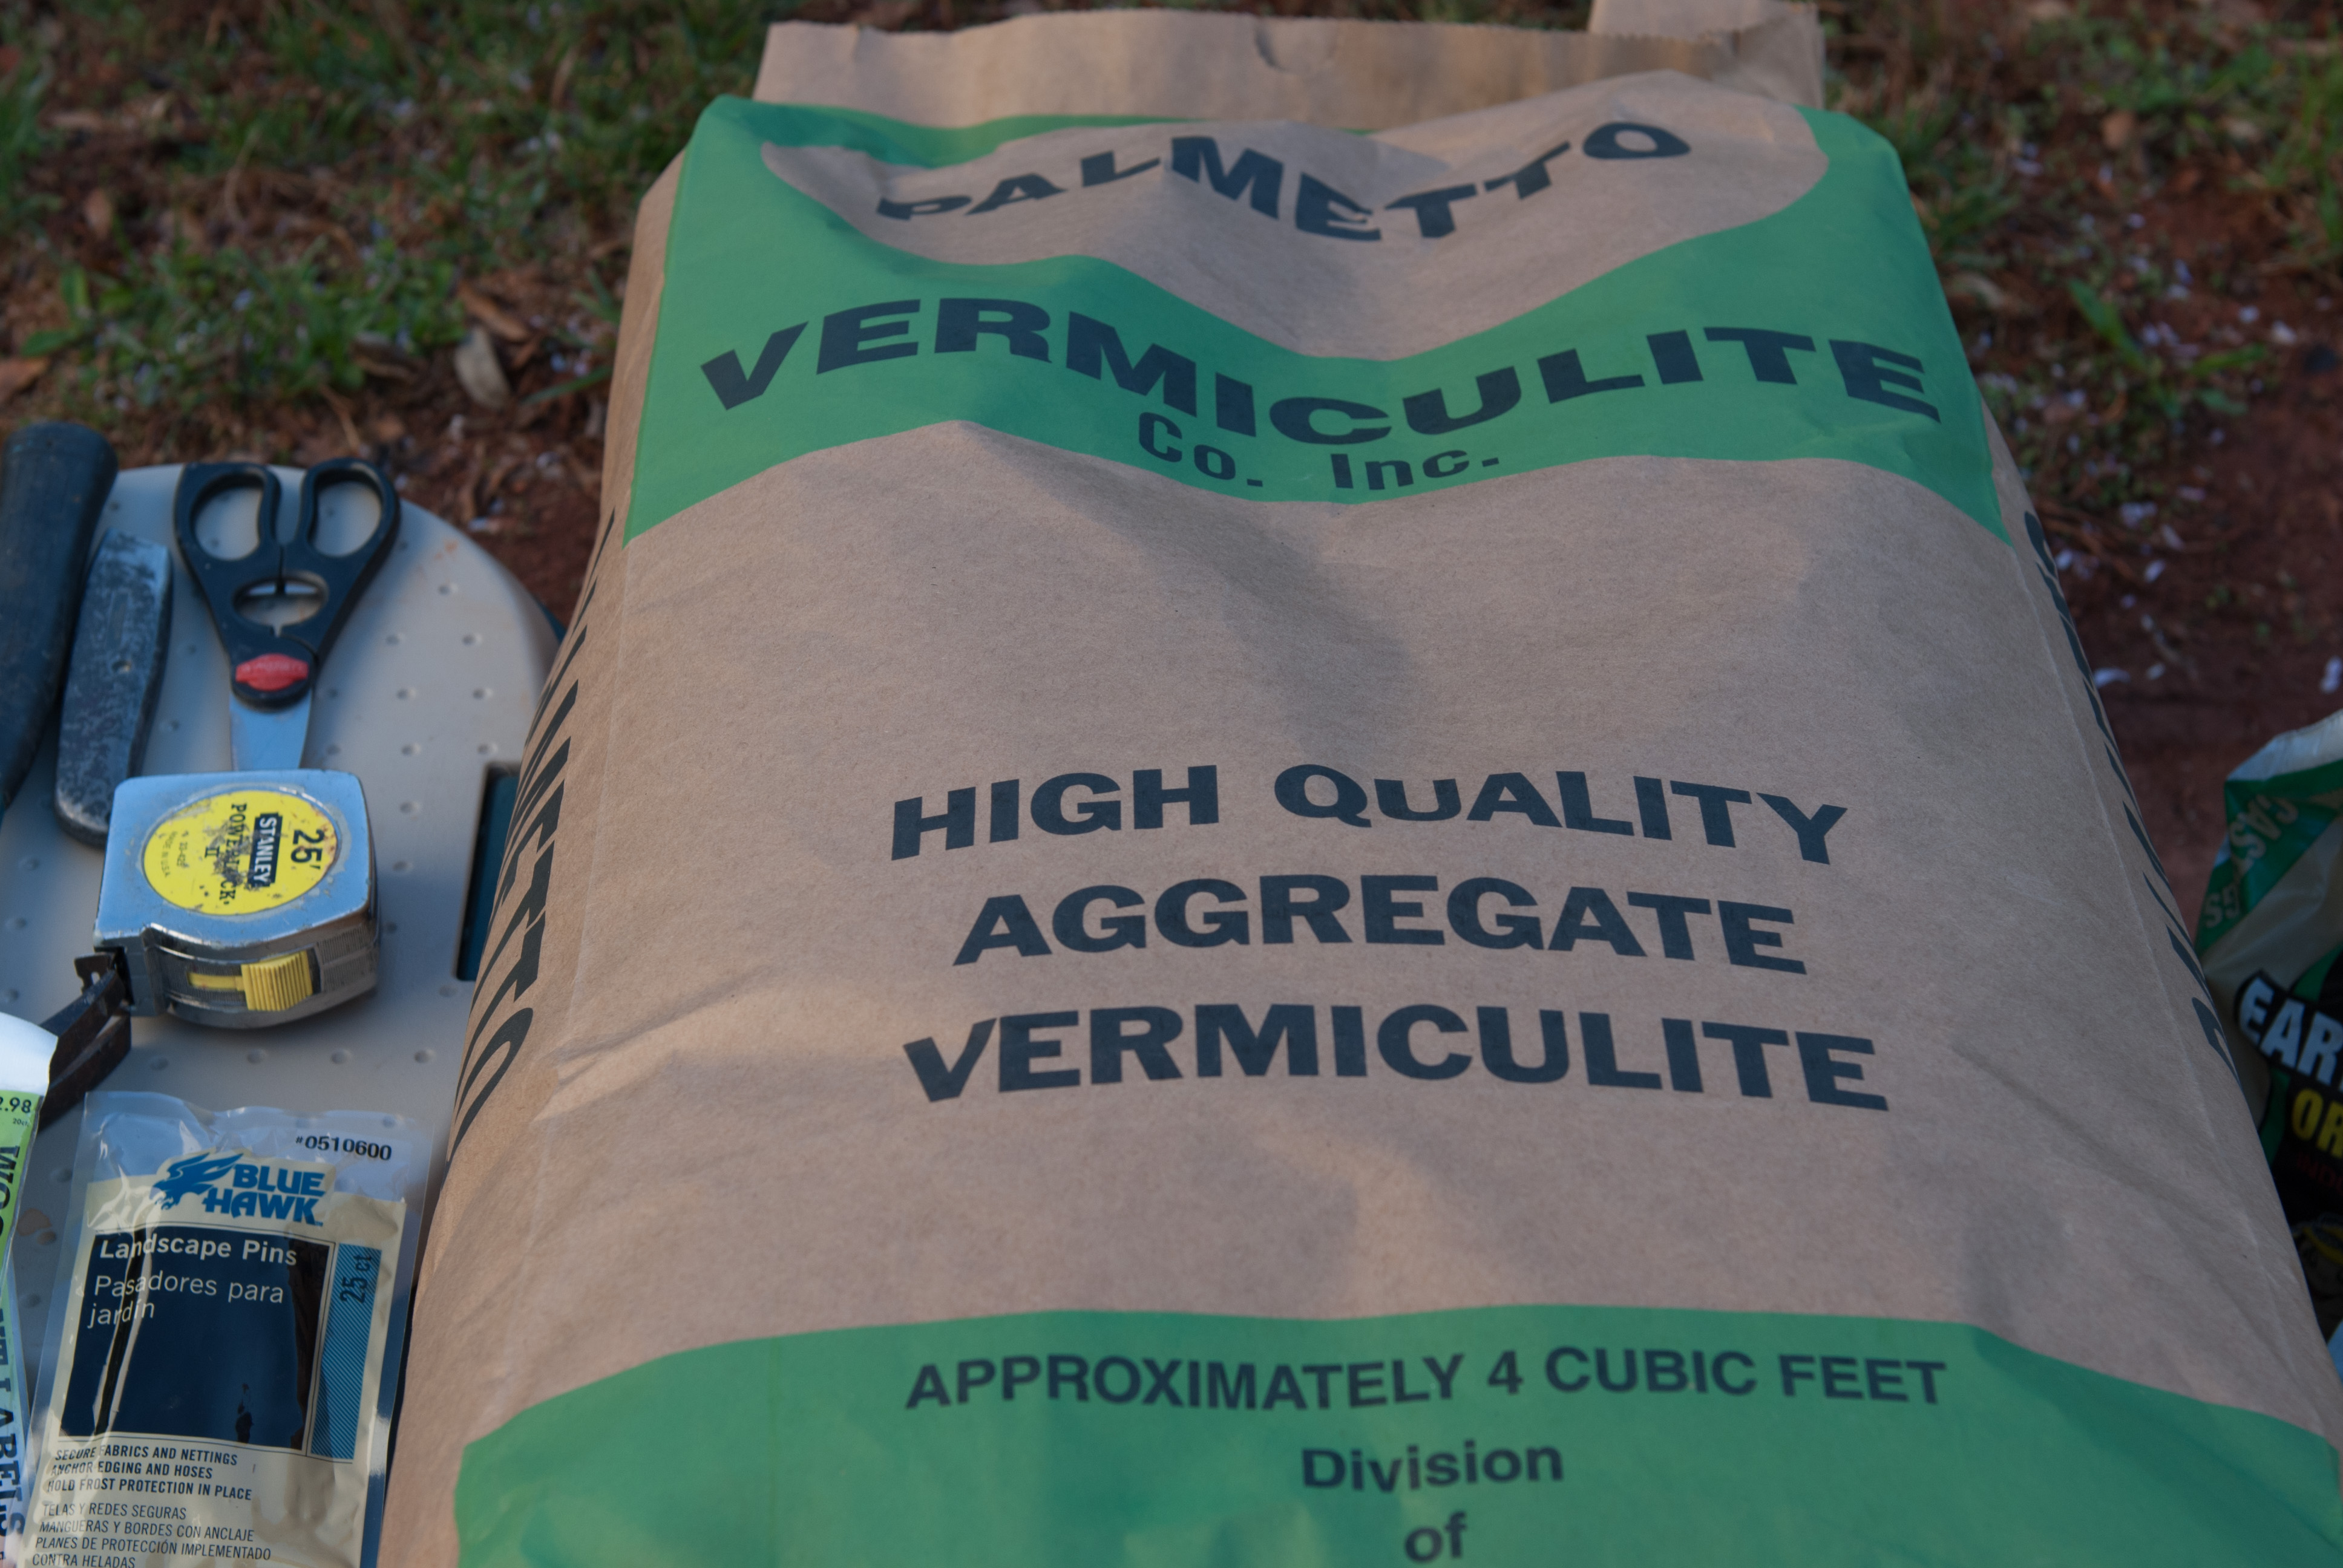
Vermiculite – 2 bags from South Pleasantburg Nursery. I couldn’t find this in large quantity at Lowes or Home Depot, and a local nursery had it for $20/bag. So – one bag for each bed. I should have gotten three bags total, but wasn’t computing correctly.
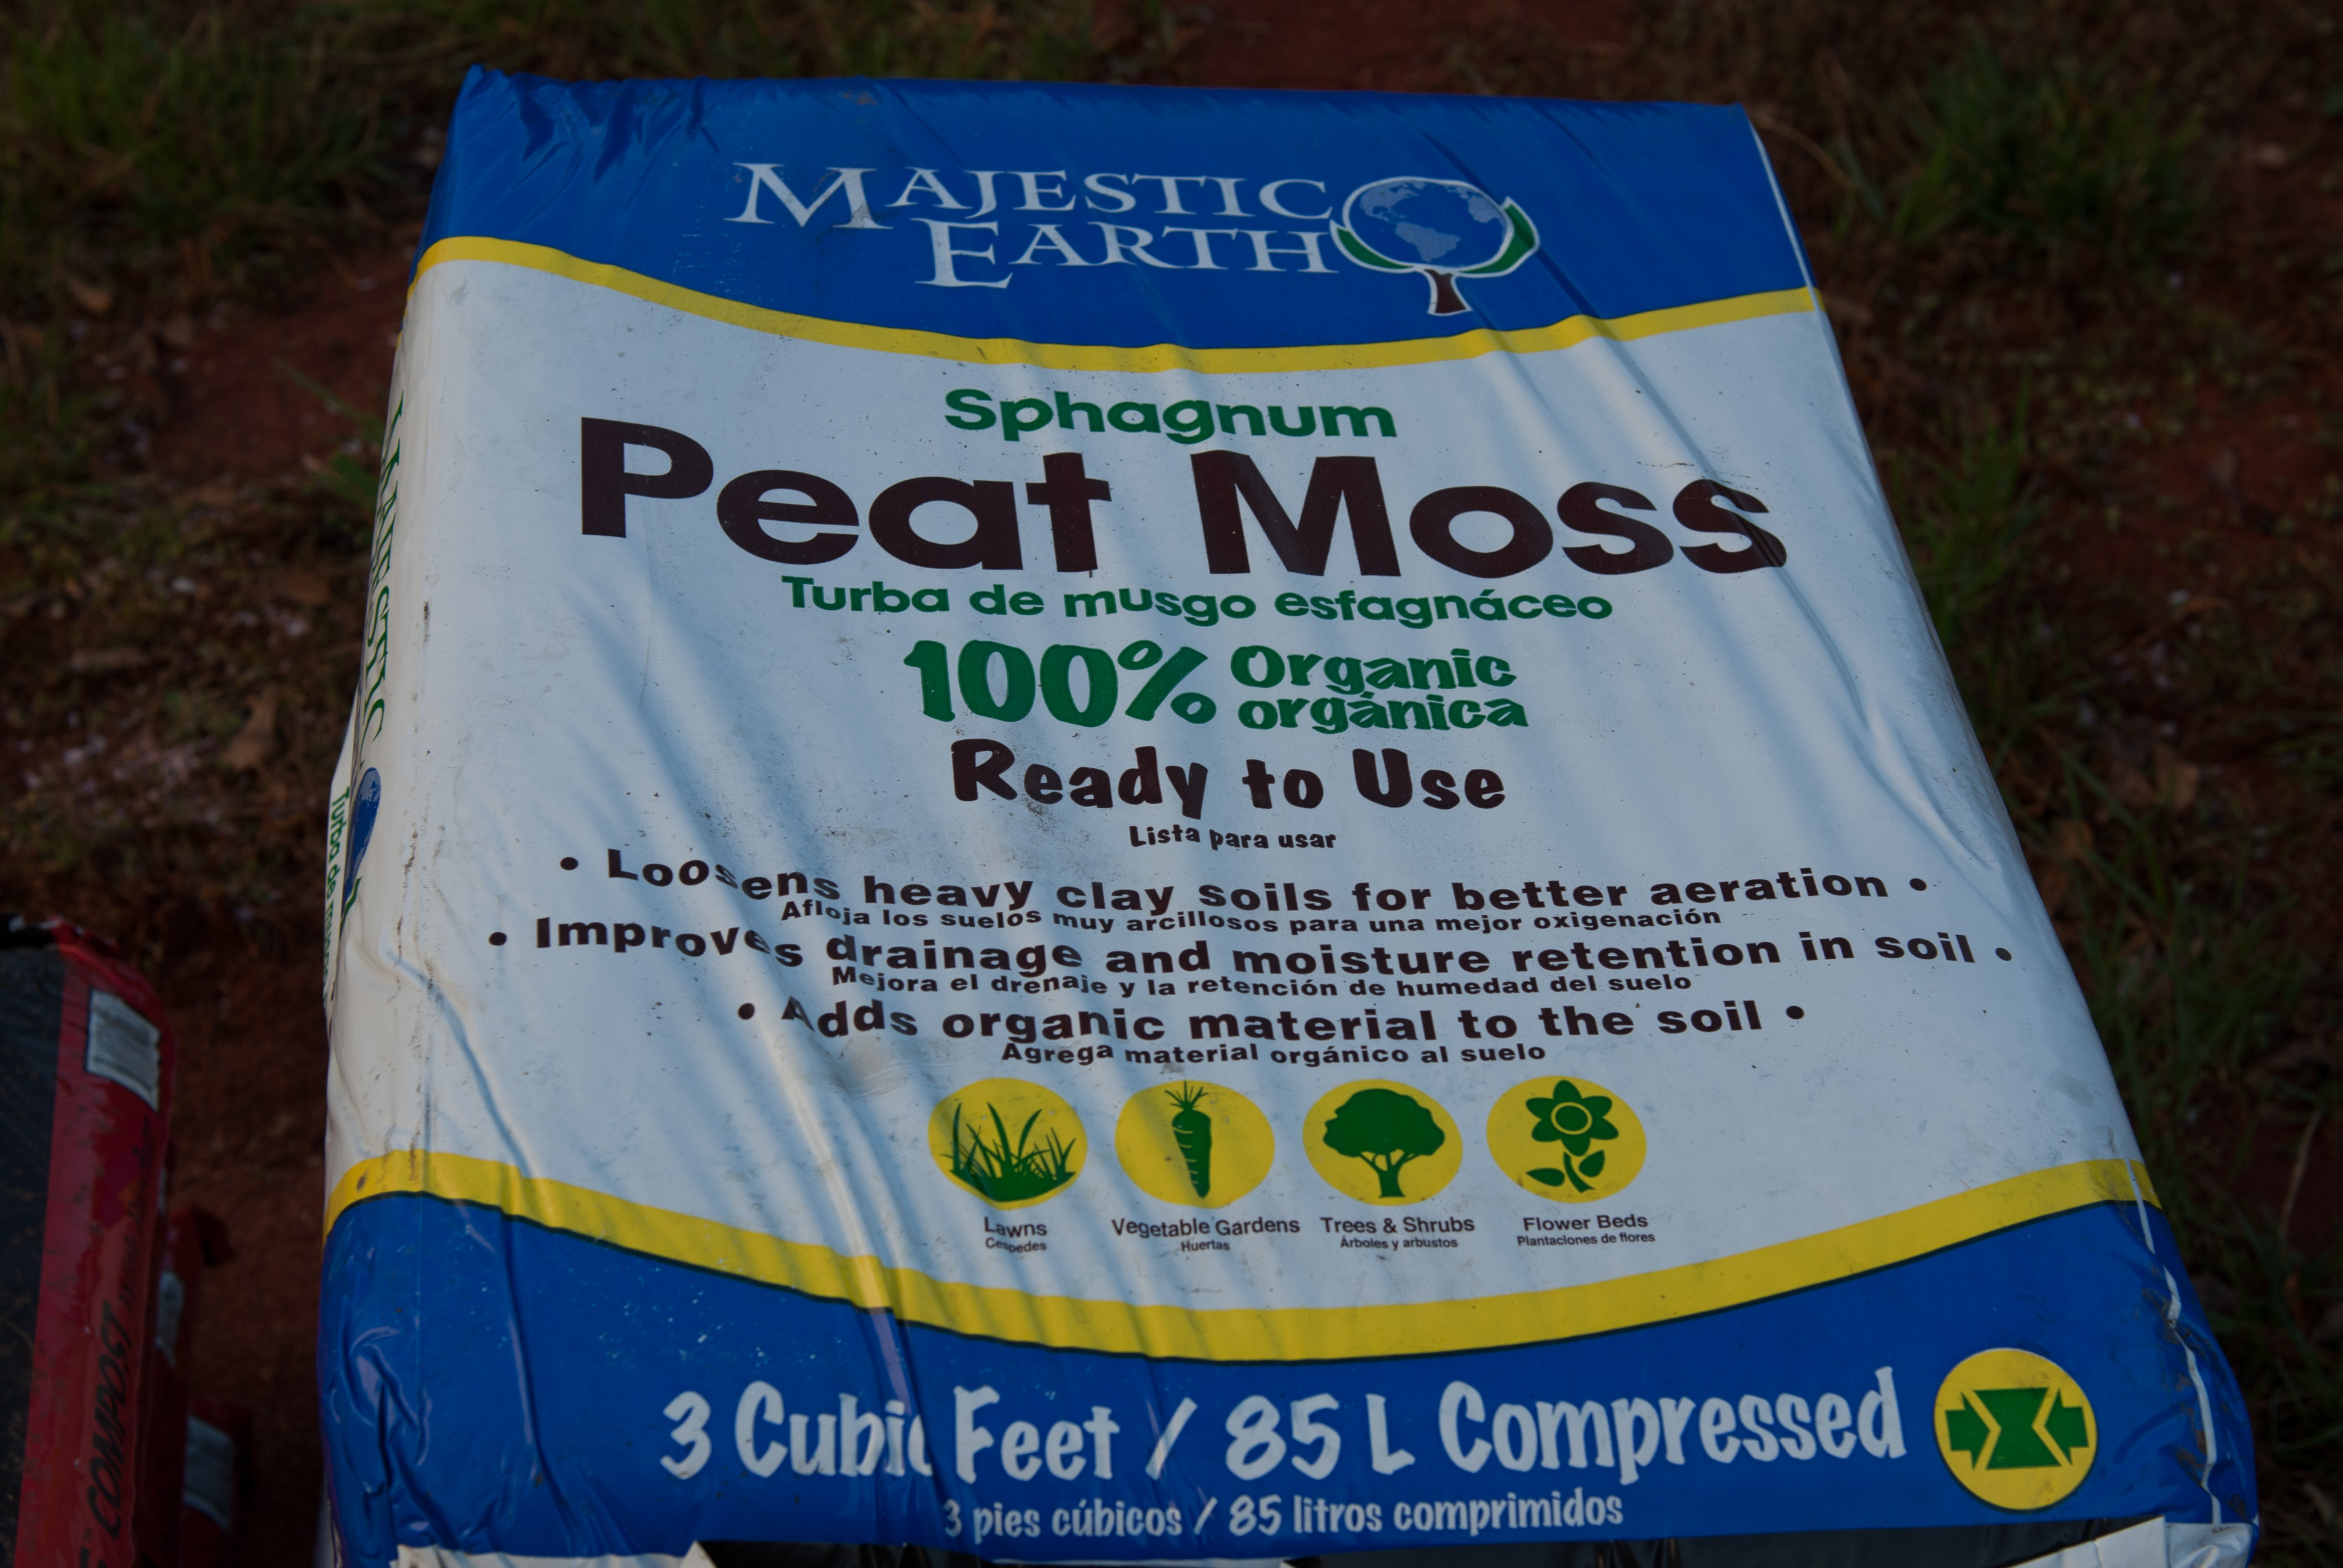
Peat Moss – 2 blocks from Lowes. (Most of the items were delivered right to our house by Lowes. Since we don’t have a truck, it was the easiest way to get everything in one place. Also – some of these bags weigh 50# and I figured that moving it only once was a bonus!) These blocks are compressed and expand to 6 cubic feet each once fluffed up.
Compost – the recipe called for five different types of compost. This was the most difficult part. I bought these items:
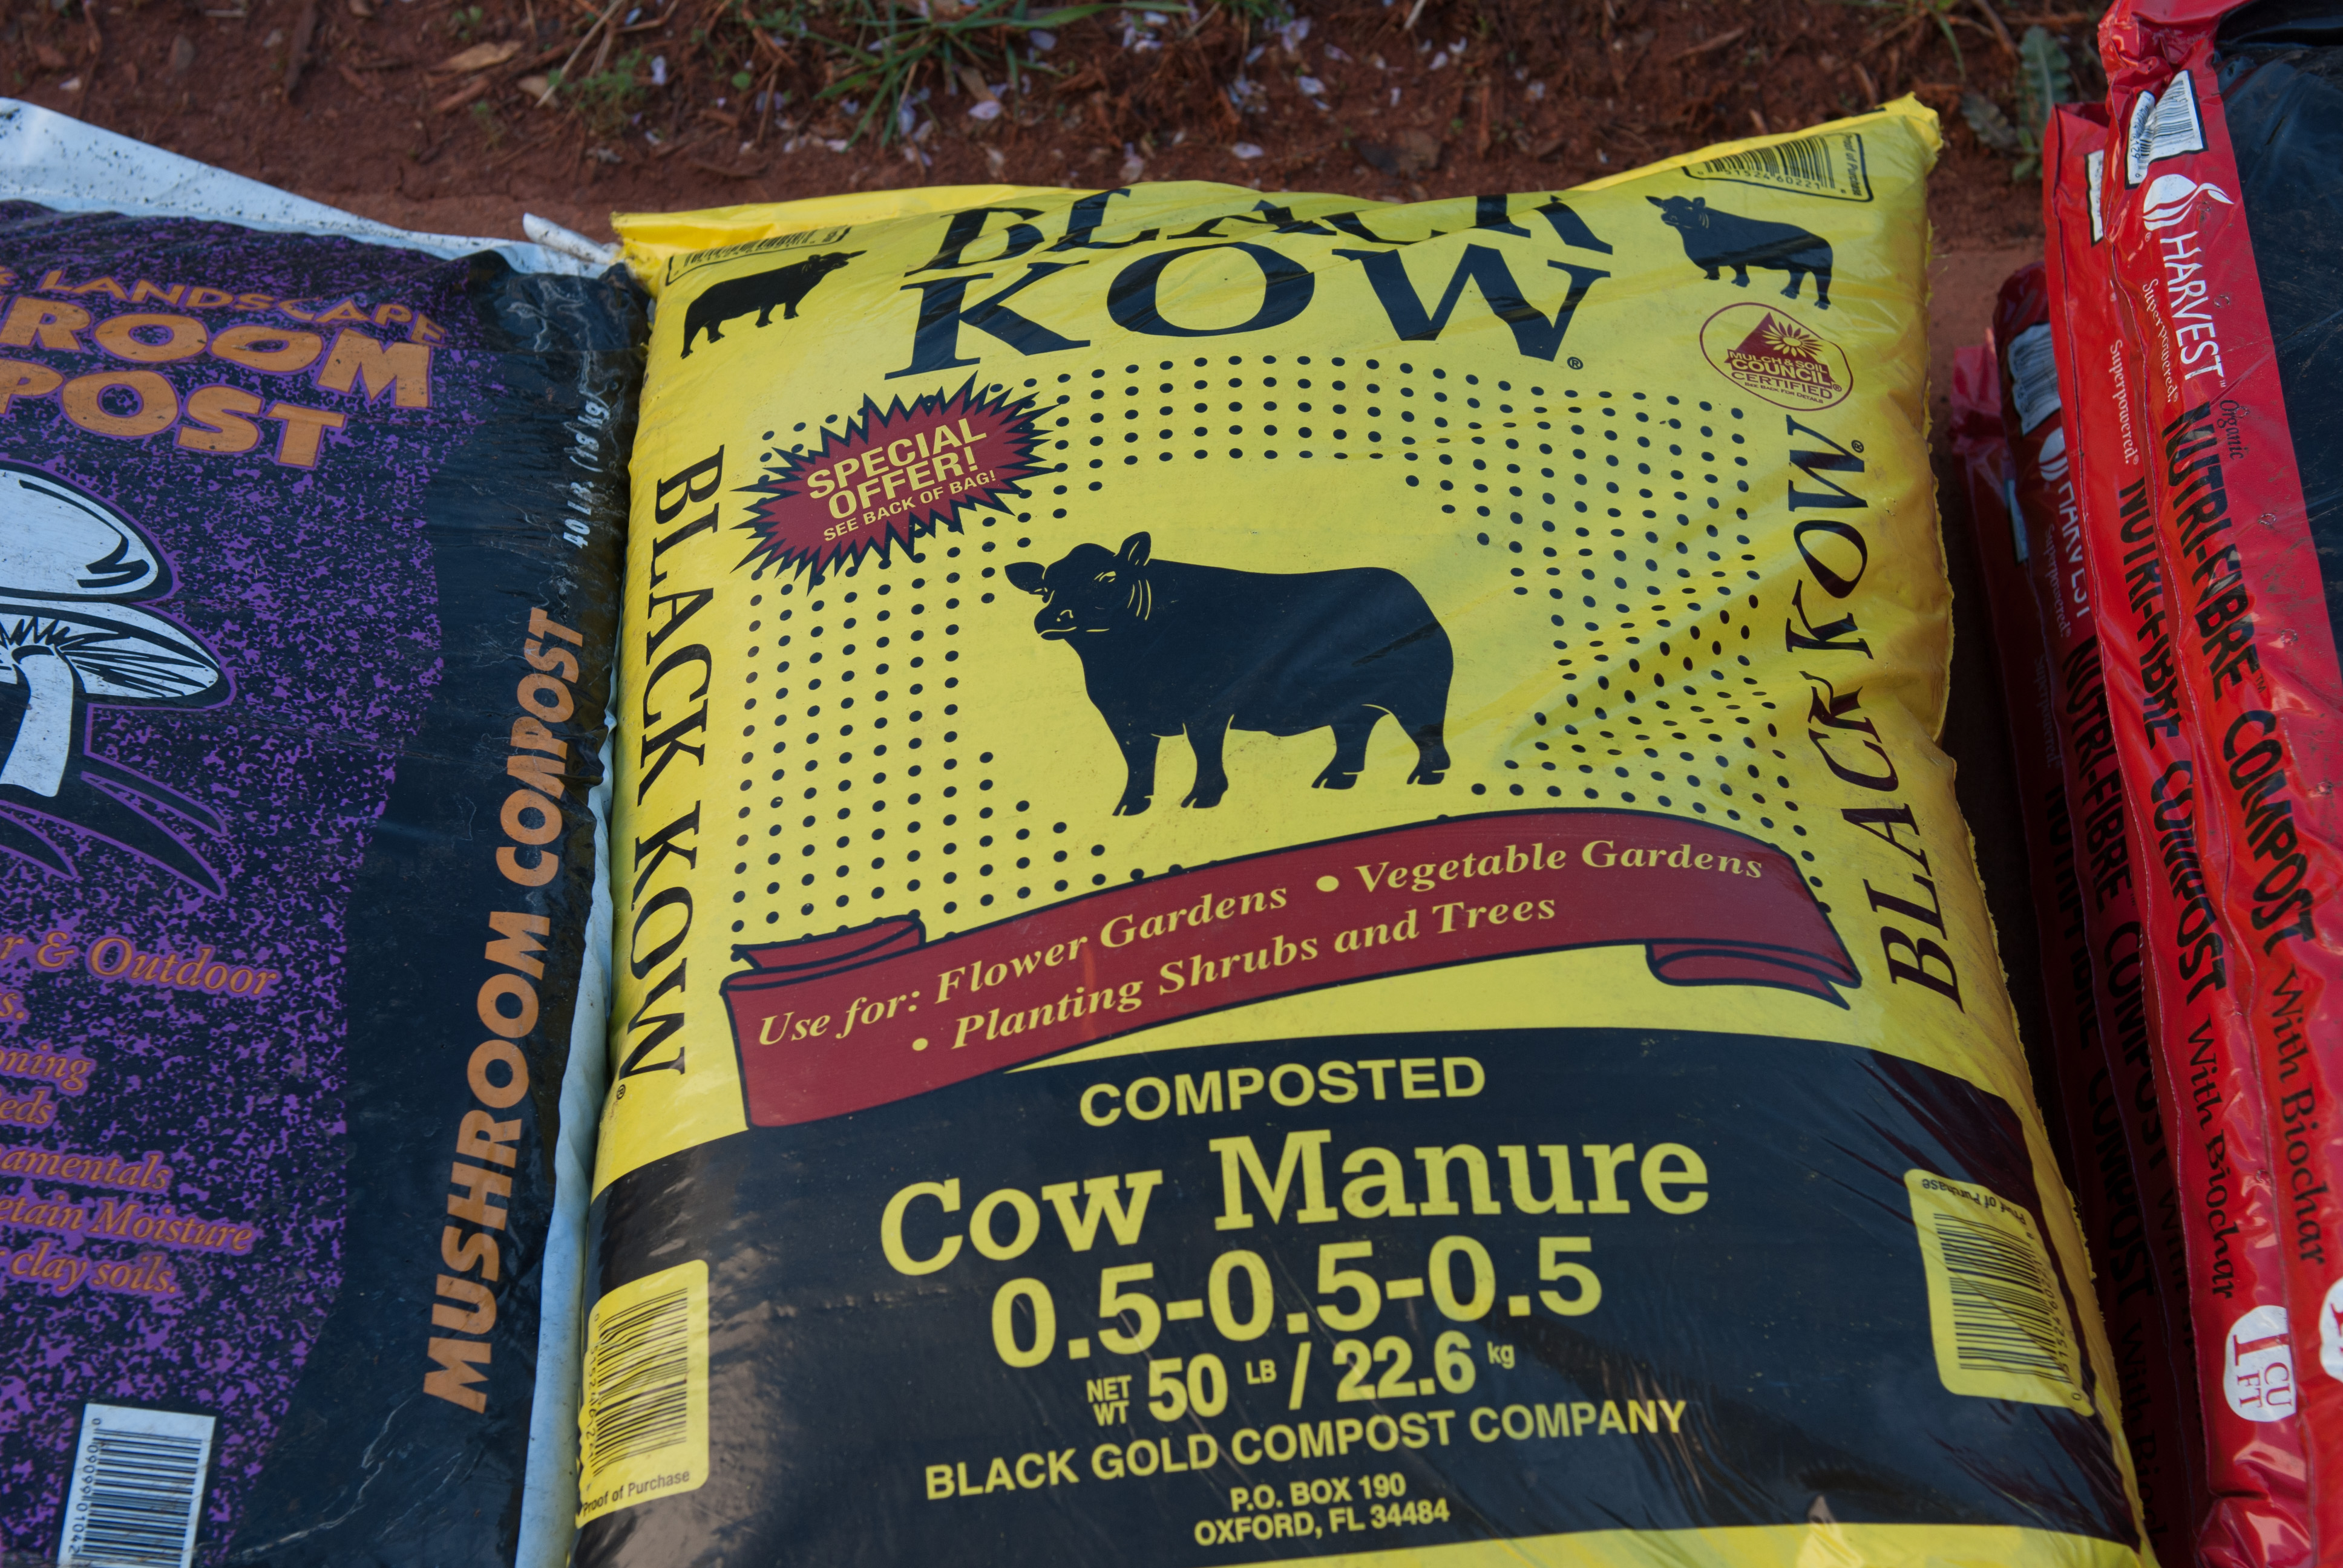
Cow Manure Compost. Bought/delivered from Lowes. 1 50# bag for each bed, approximately 2 cubic feet. $4.95/bag
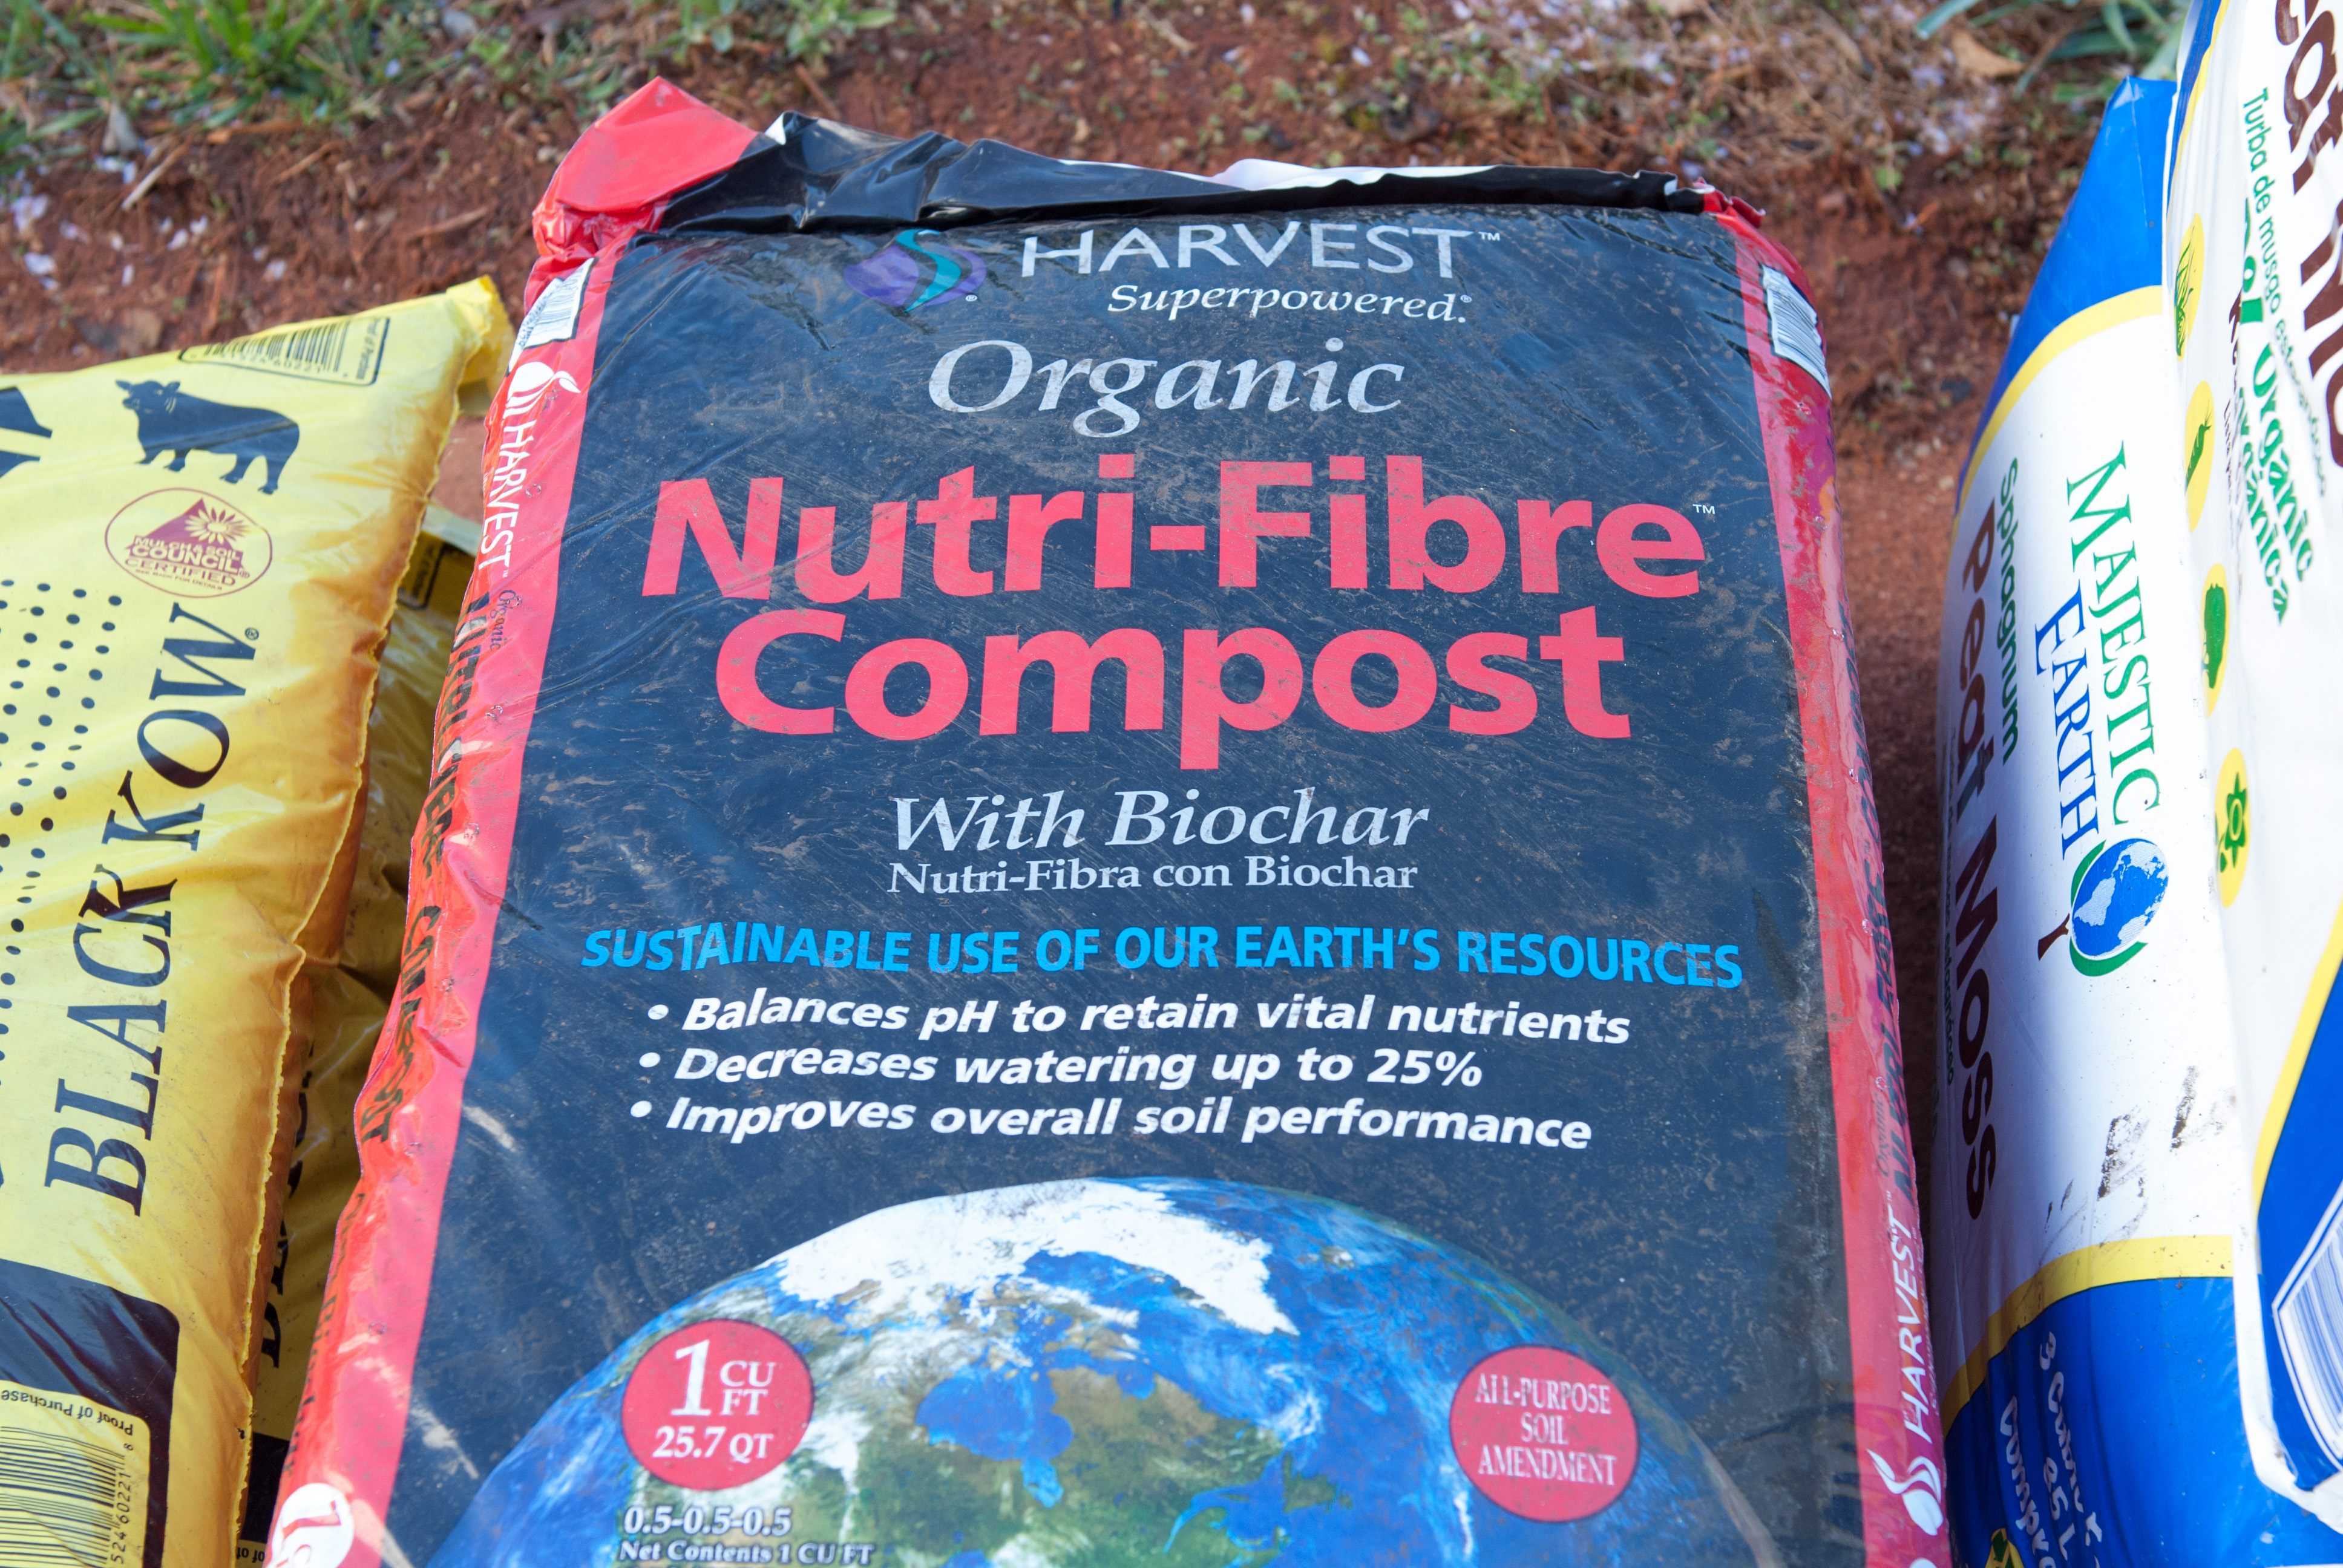
Organic Nutri-Fibre Compost. Bought/delivered from Lowes. 1 cubic ft bag, 2 for each bed. $6.98 / bag
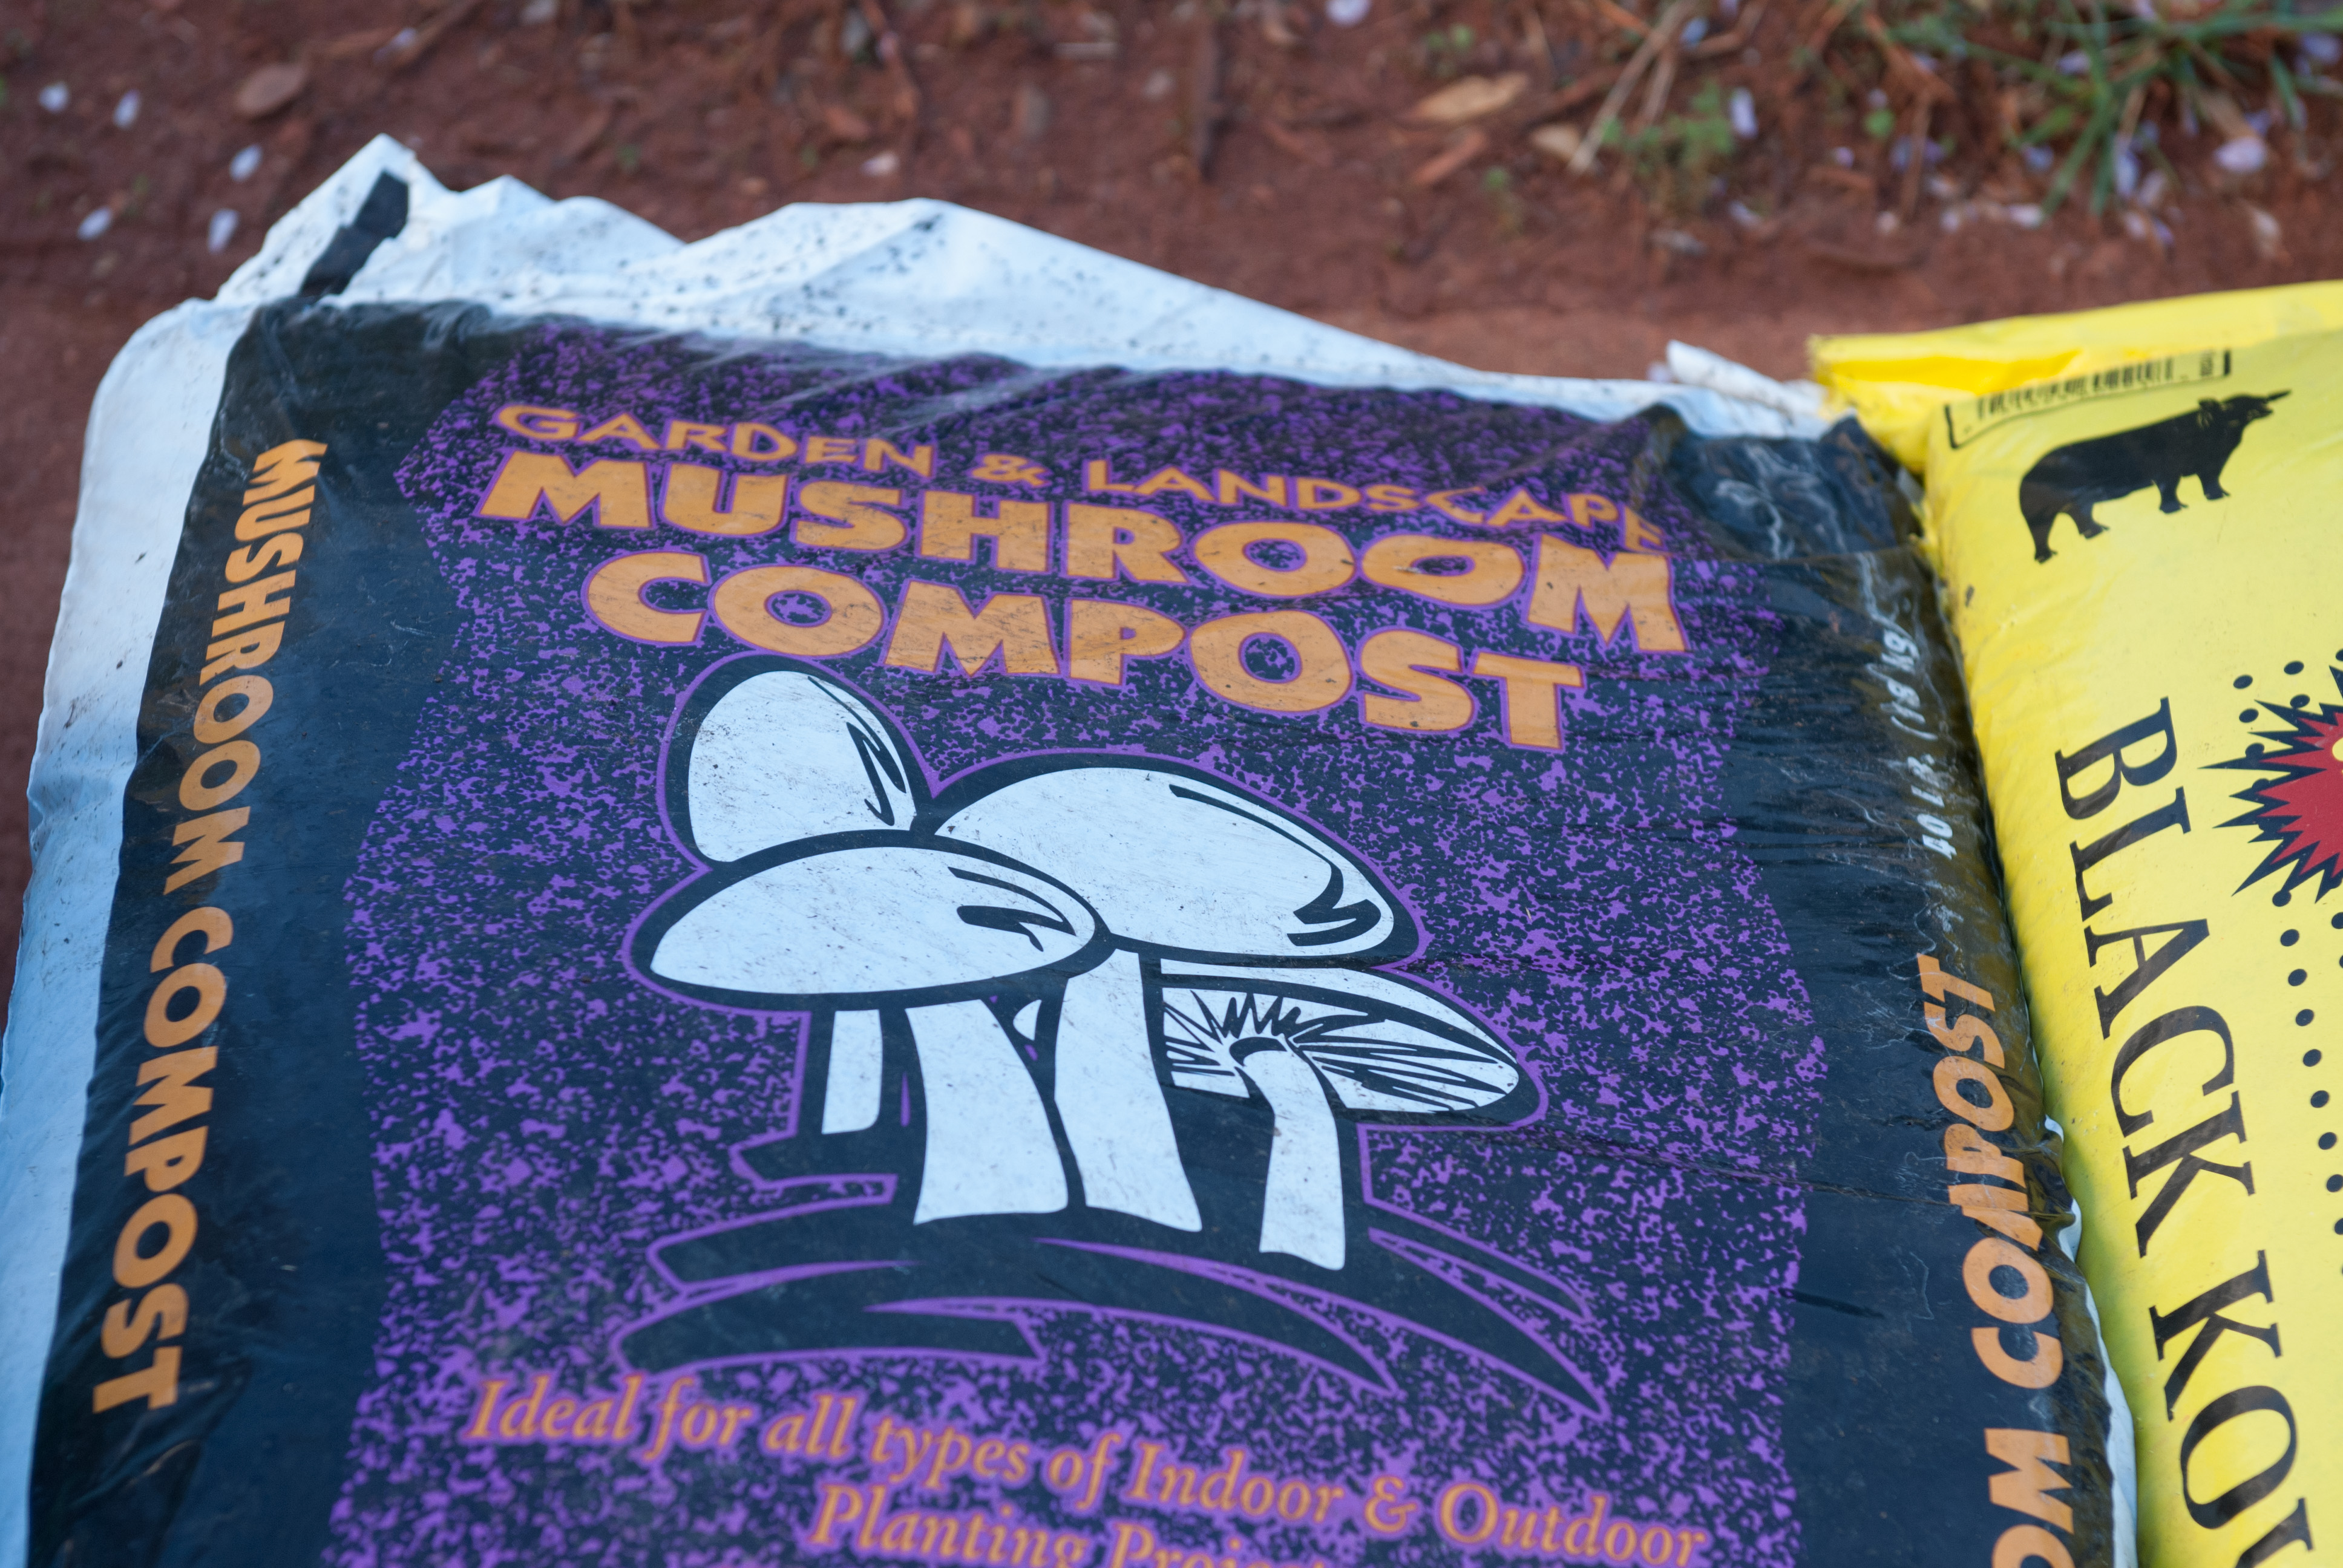
Organic mushroom compost. Bought/delivered from Lowes. 1 40# bags per bed = 2 cubic feet each. $3.97/bag
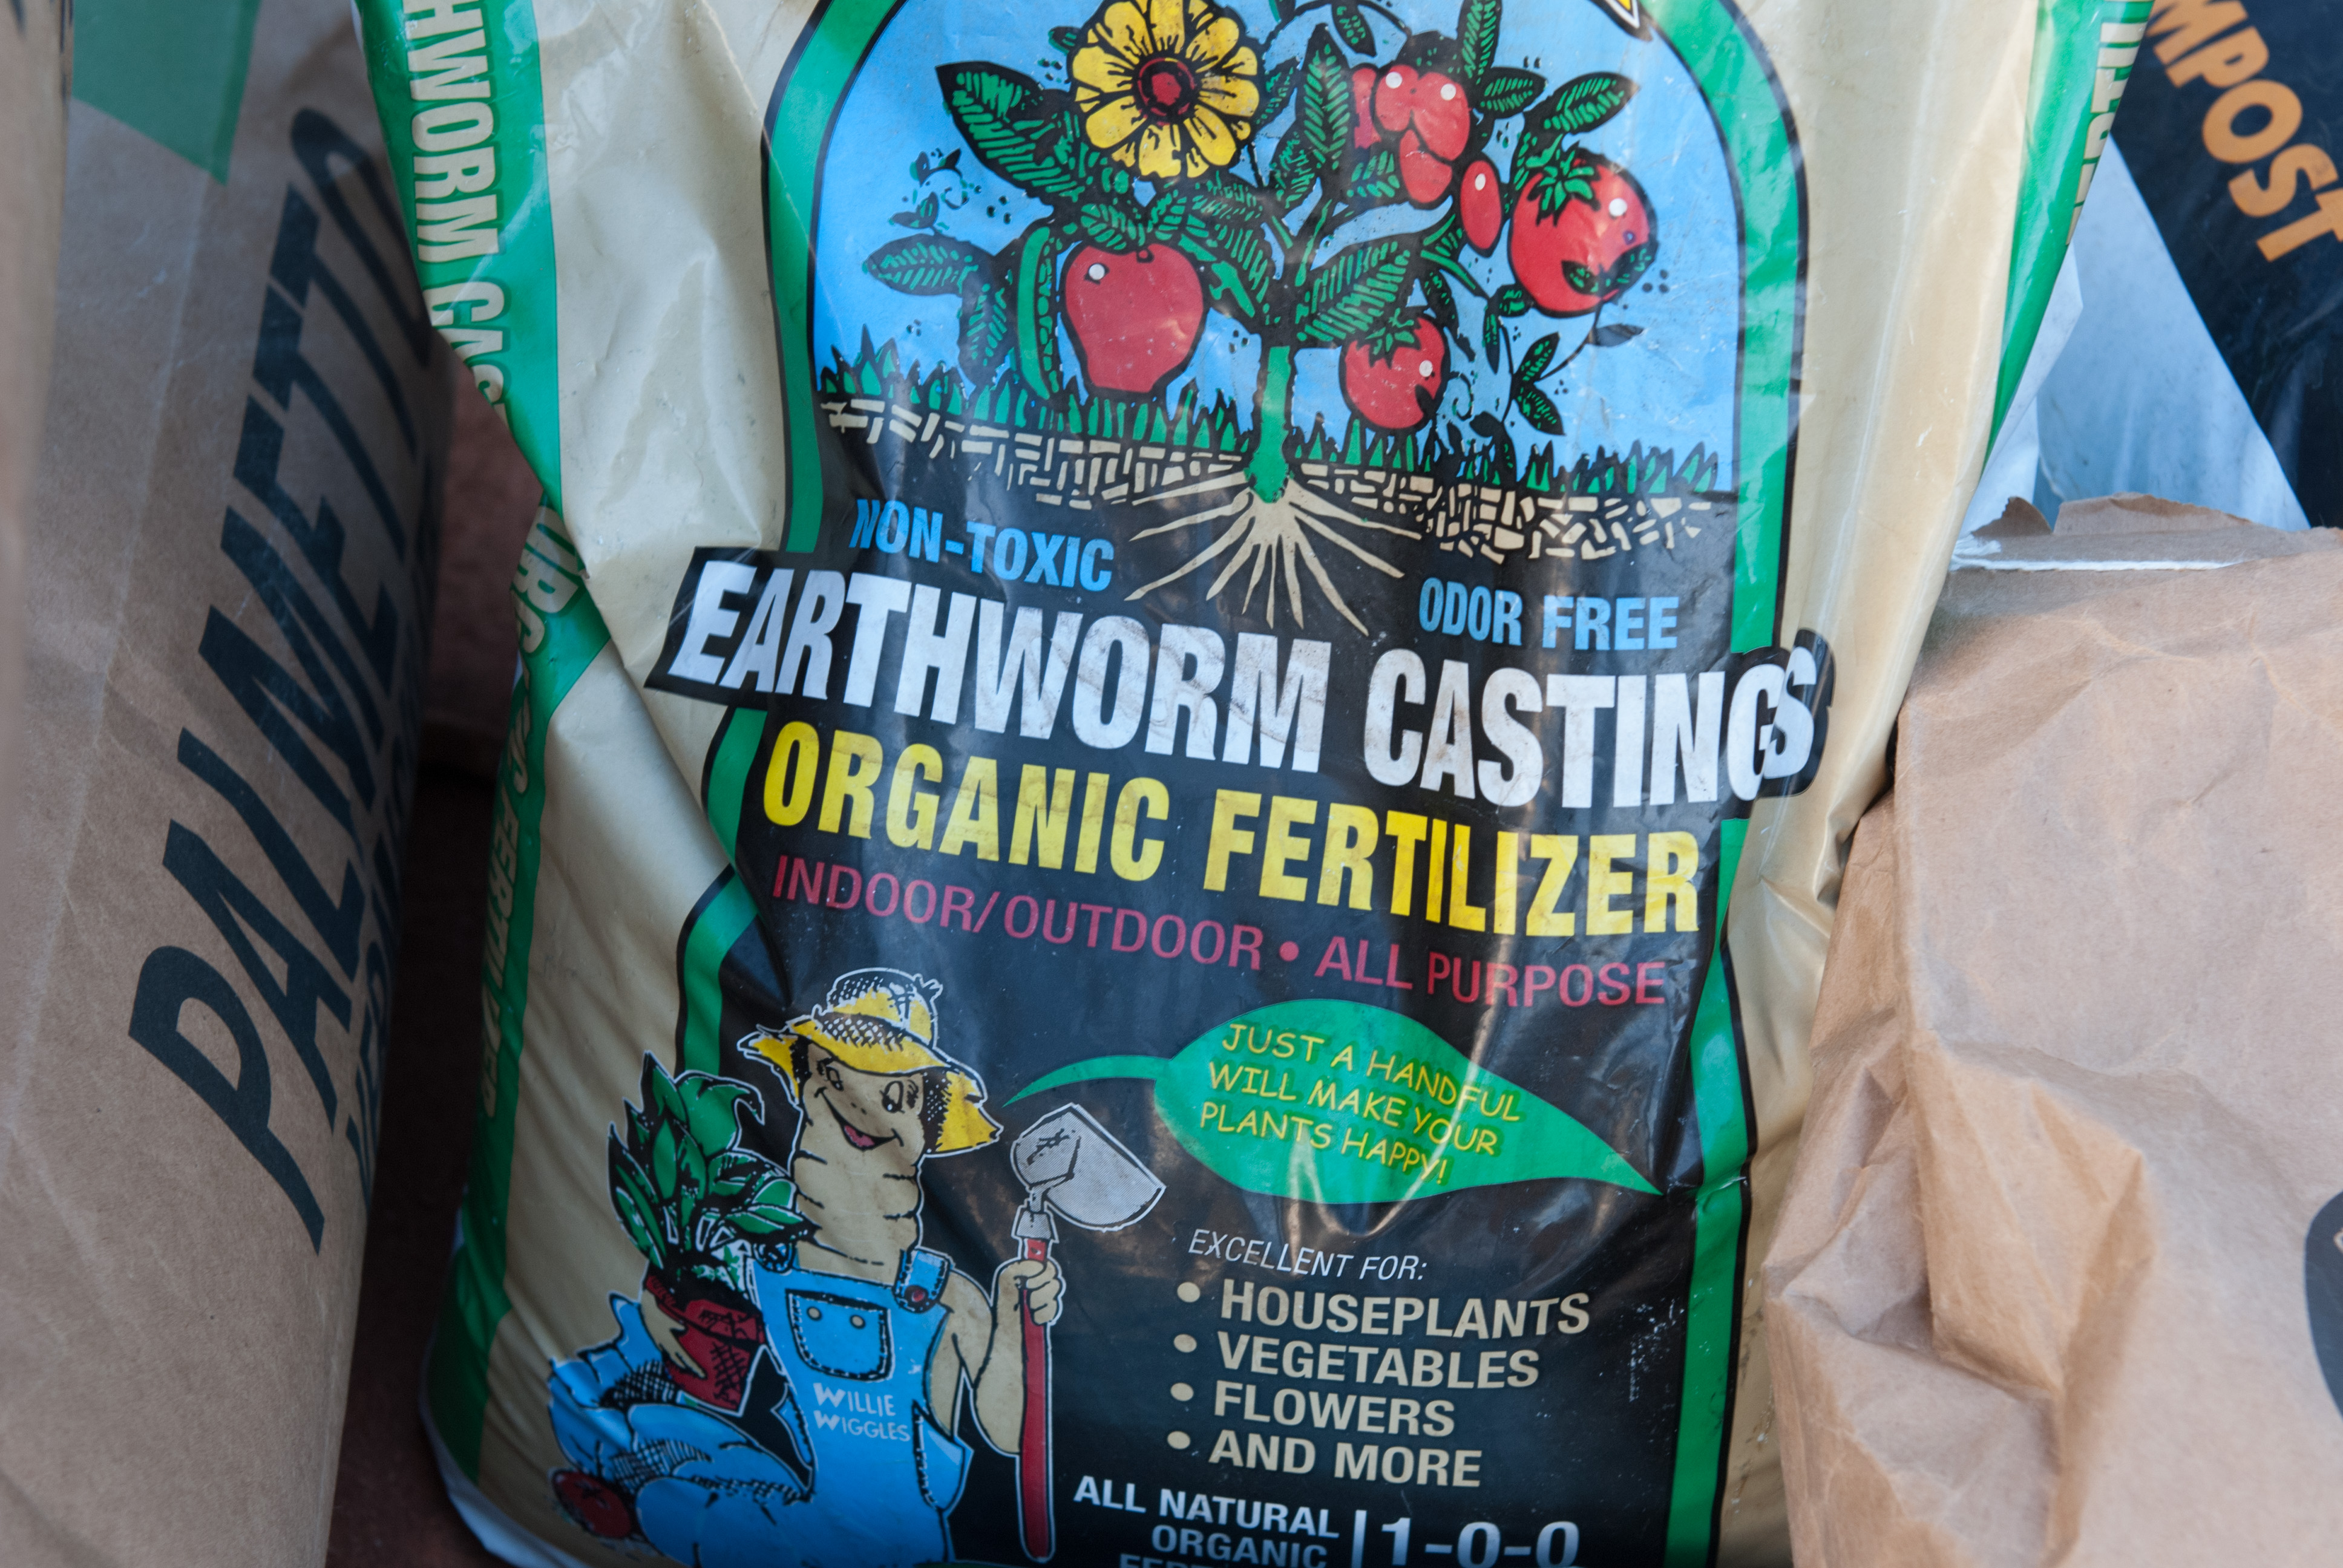
Worm Soil Builder Earthworm Castings from Amazon.com (link here). $7.98 per 15# bag. One cubic foot and one for each bed, so two total.
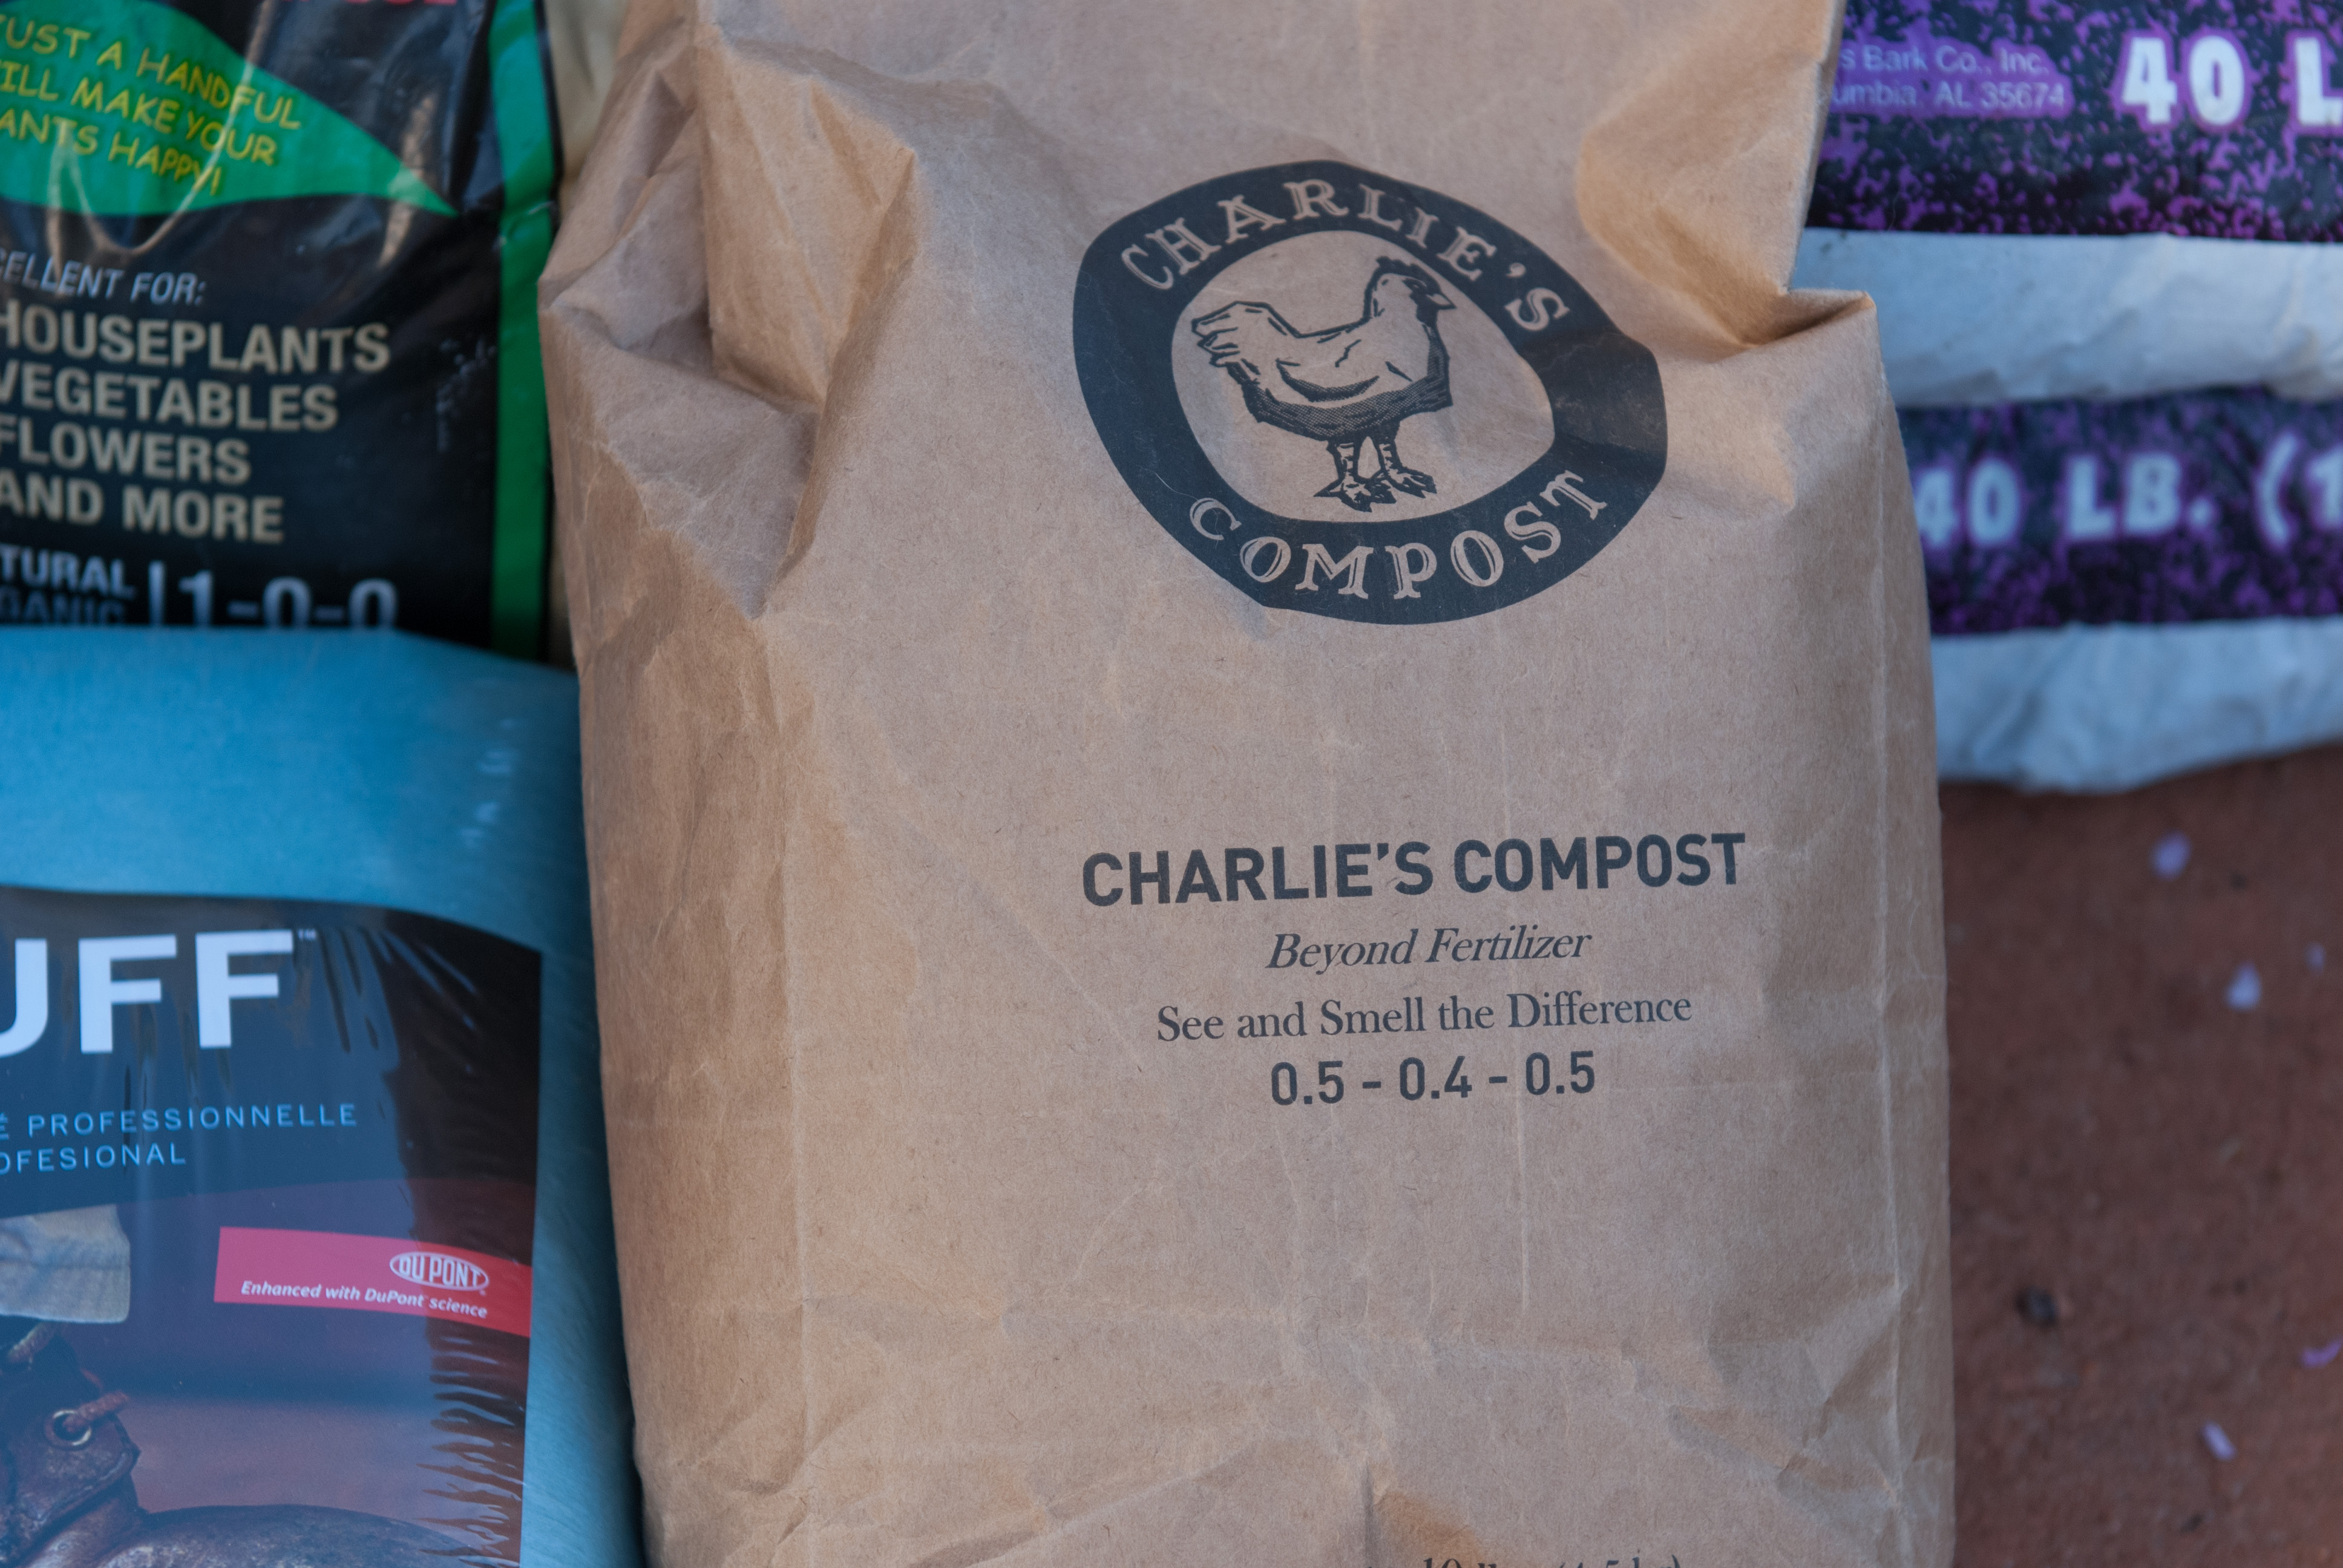
Chicken compost. Bought from Amazon.com (link here). I understand that this is powerful stuff and only bought one bag to share among both beds. $18.00
Prepare the Area
Since we were constructing two beds on top of our clay soil, we decided that landscape fabric was the best idea to block out weeds and keep the area neat. Happily, we had a flat area that gets about 7-8 hours of direct sunlight a day, so no grading was necessary.
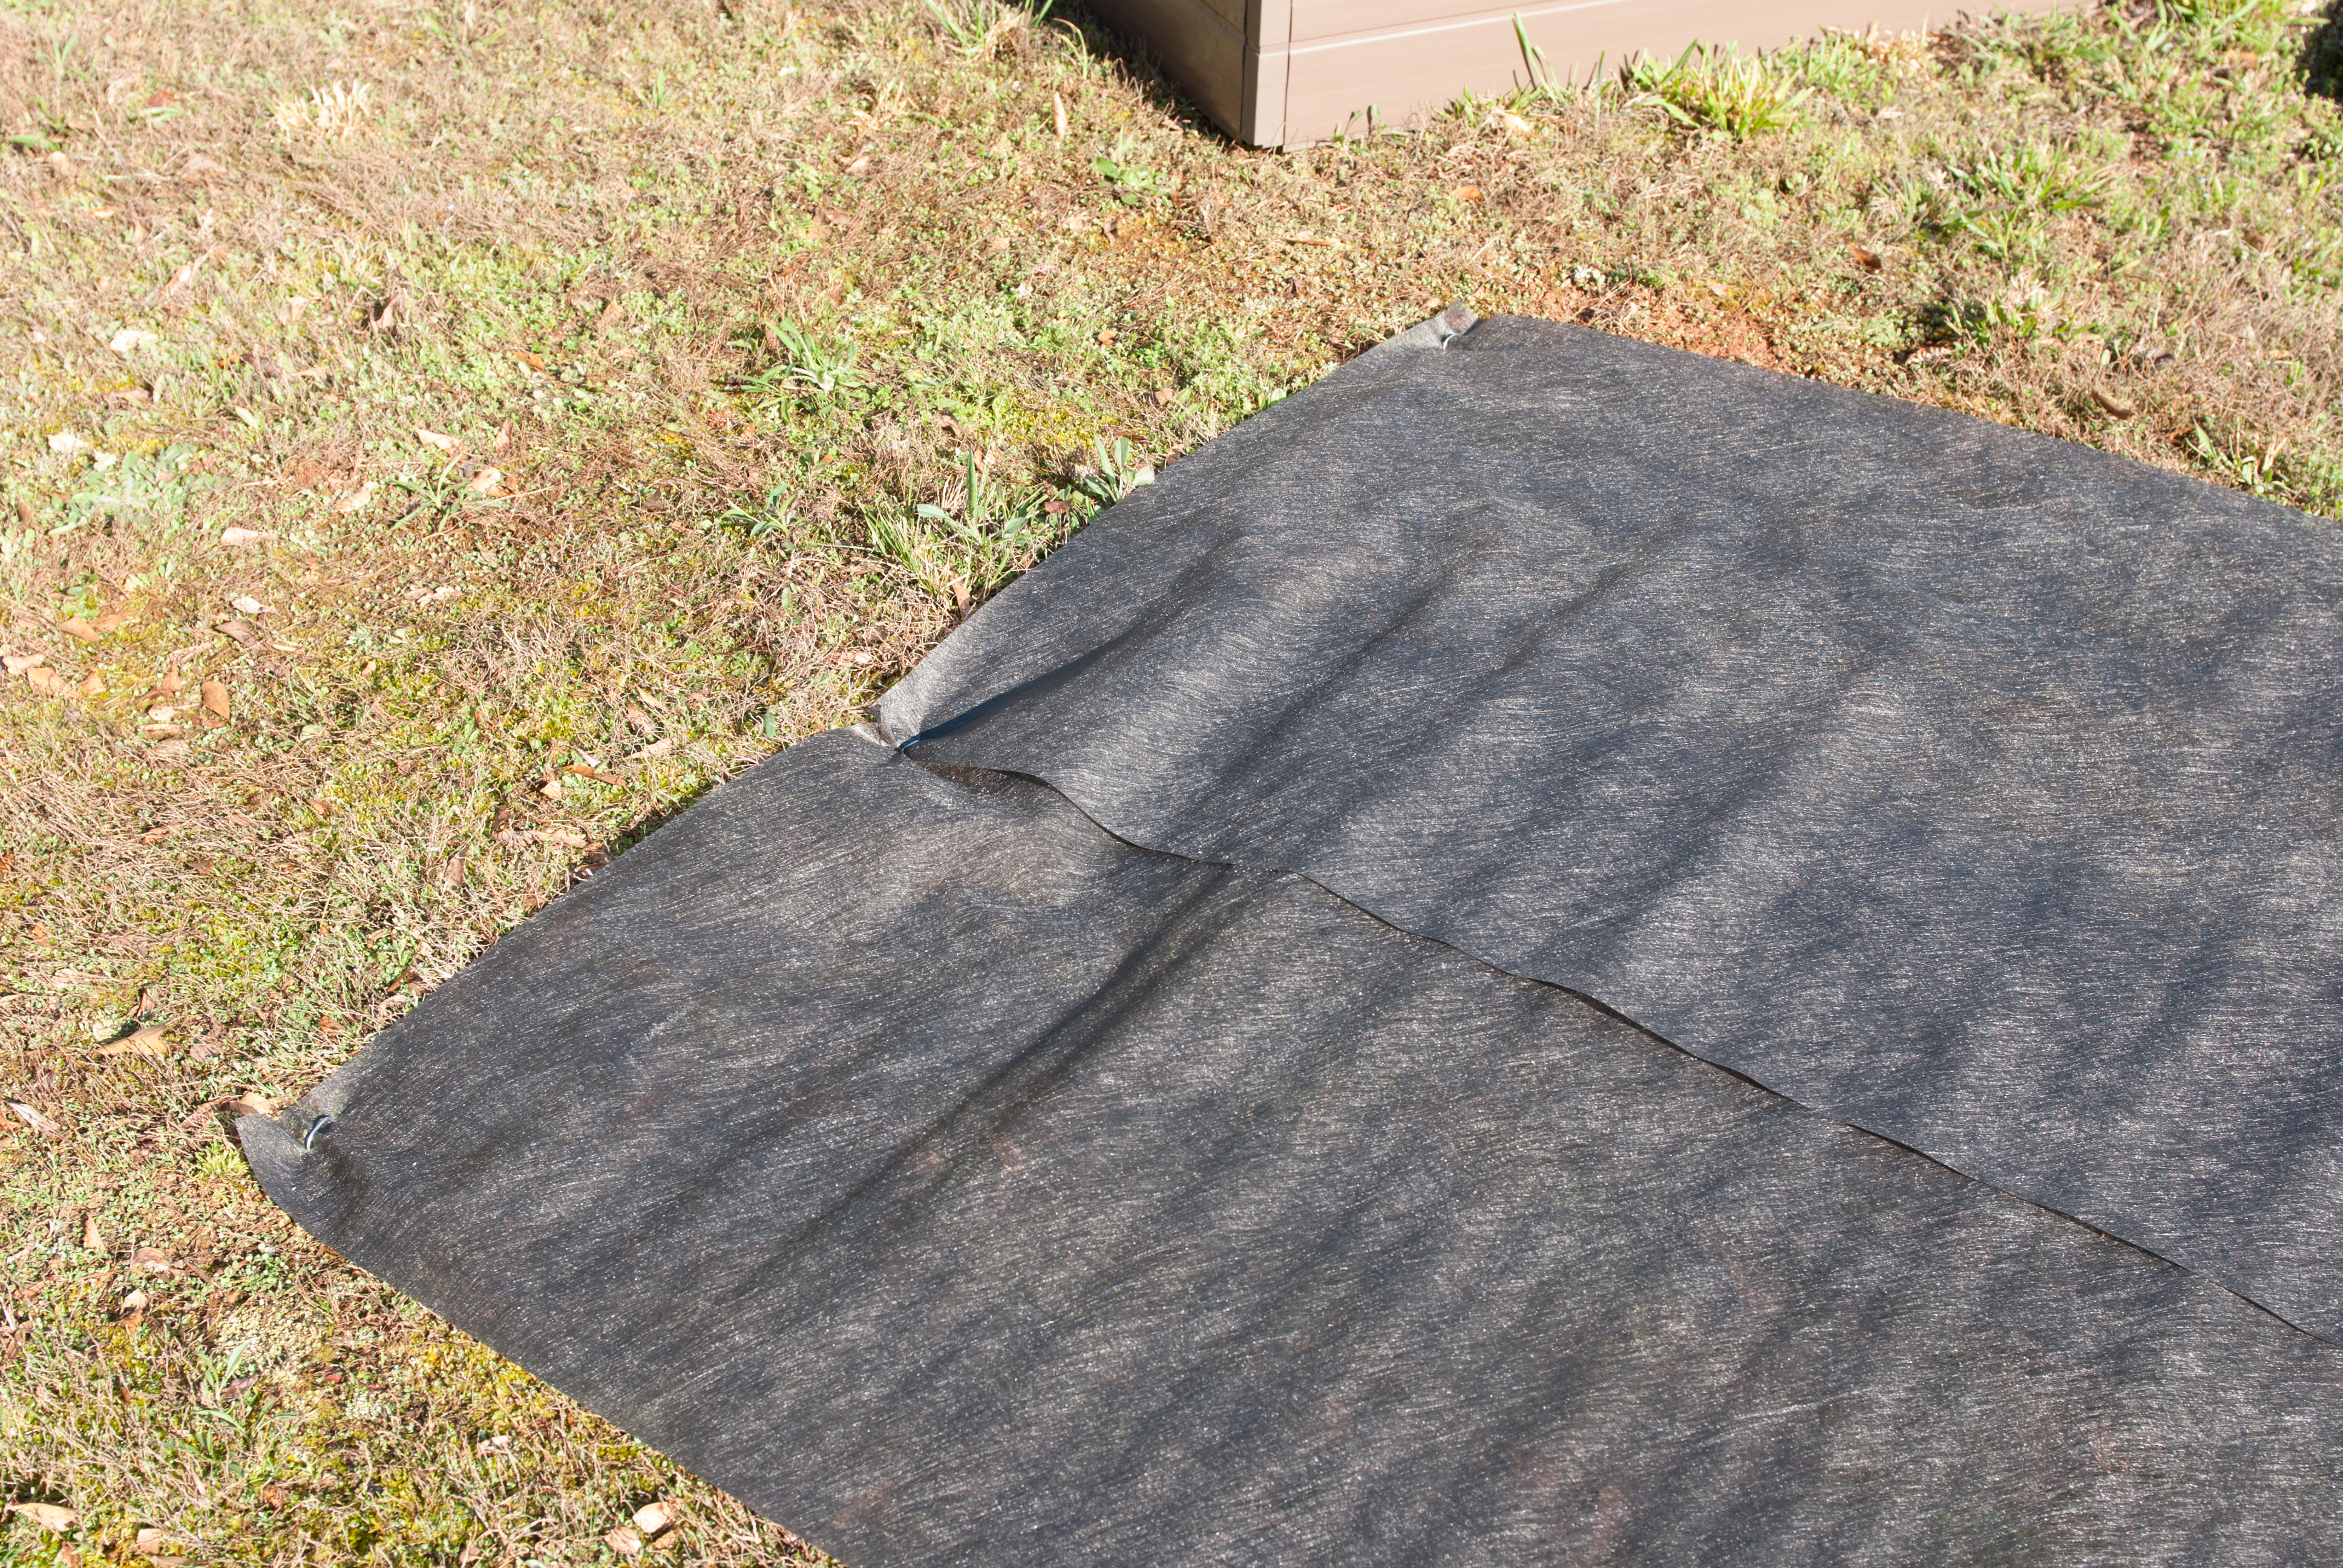
We measured enough to leave a 6″ margin all the way around the beds.
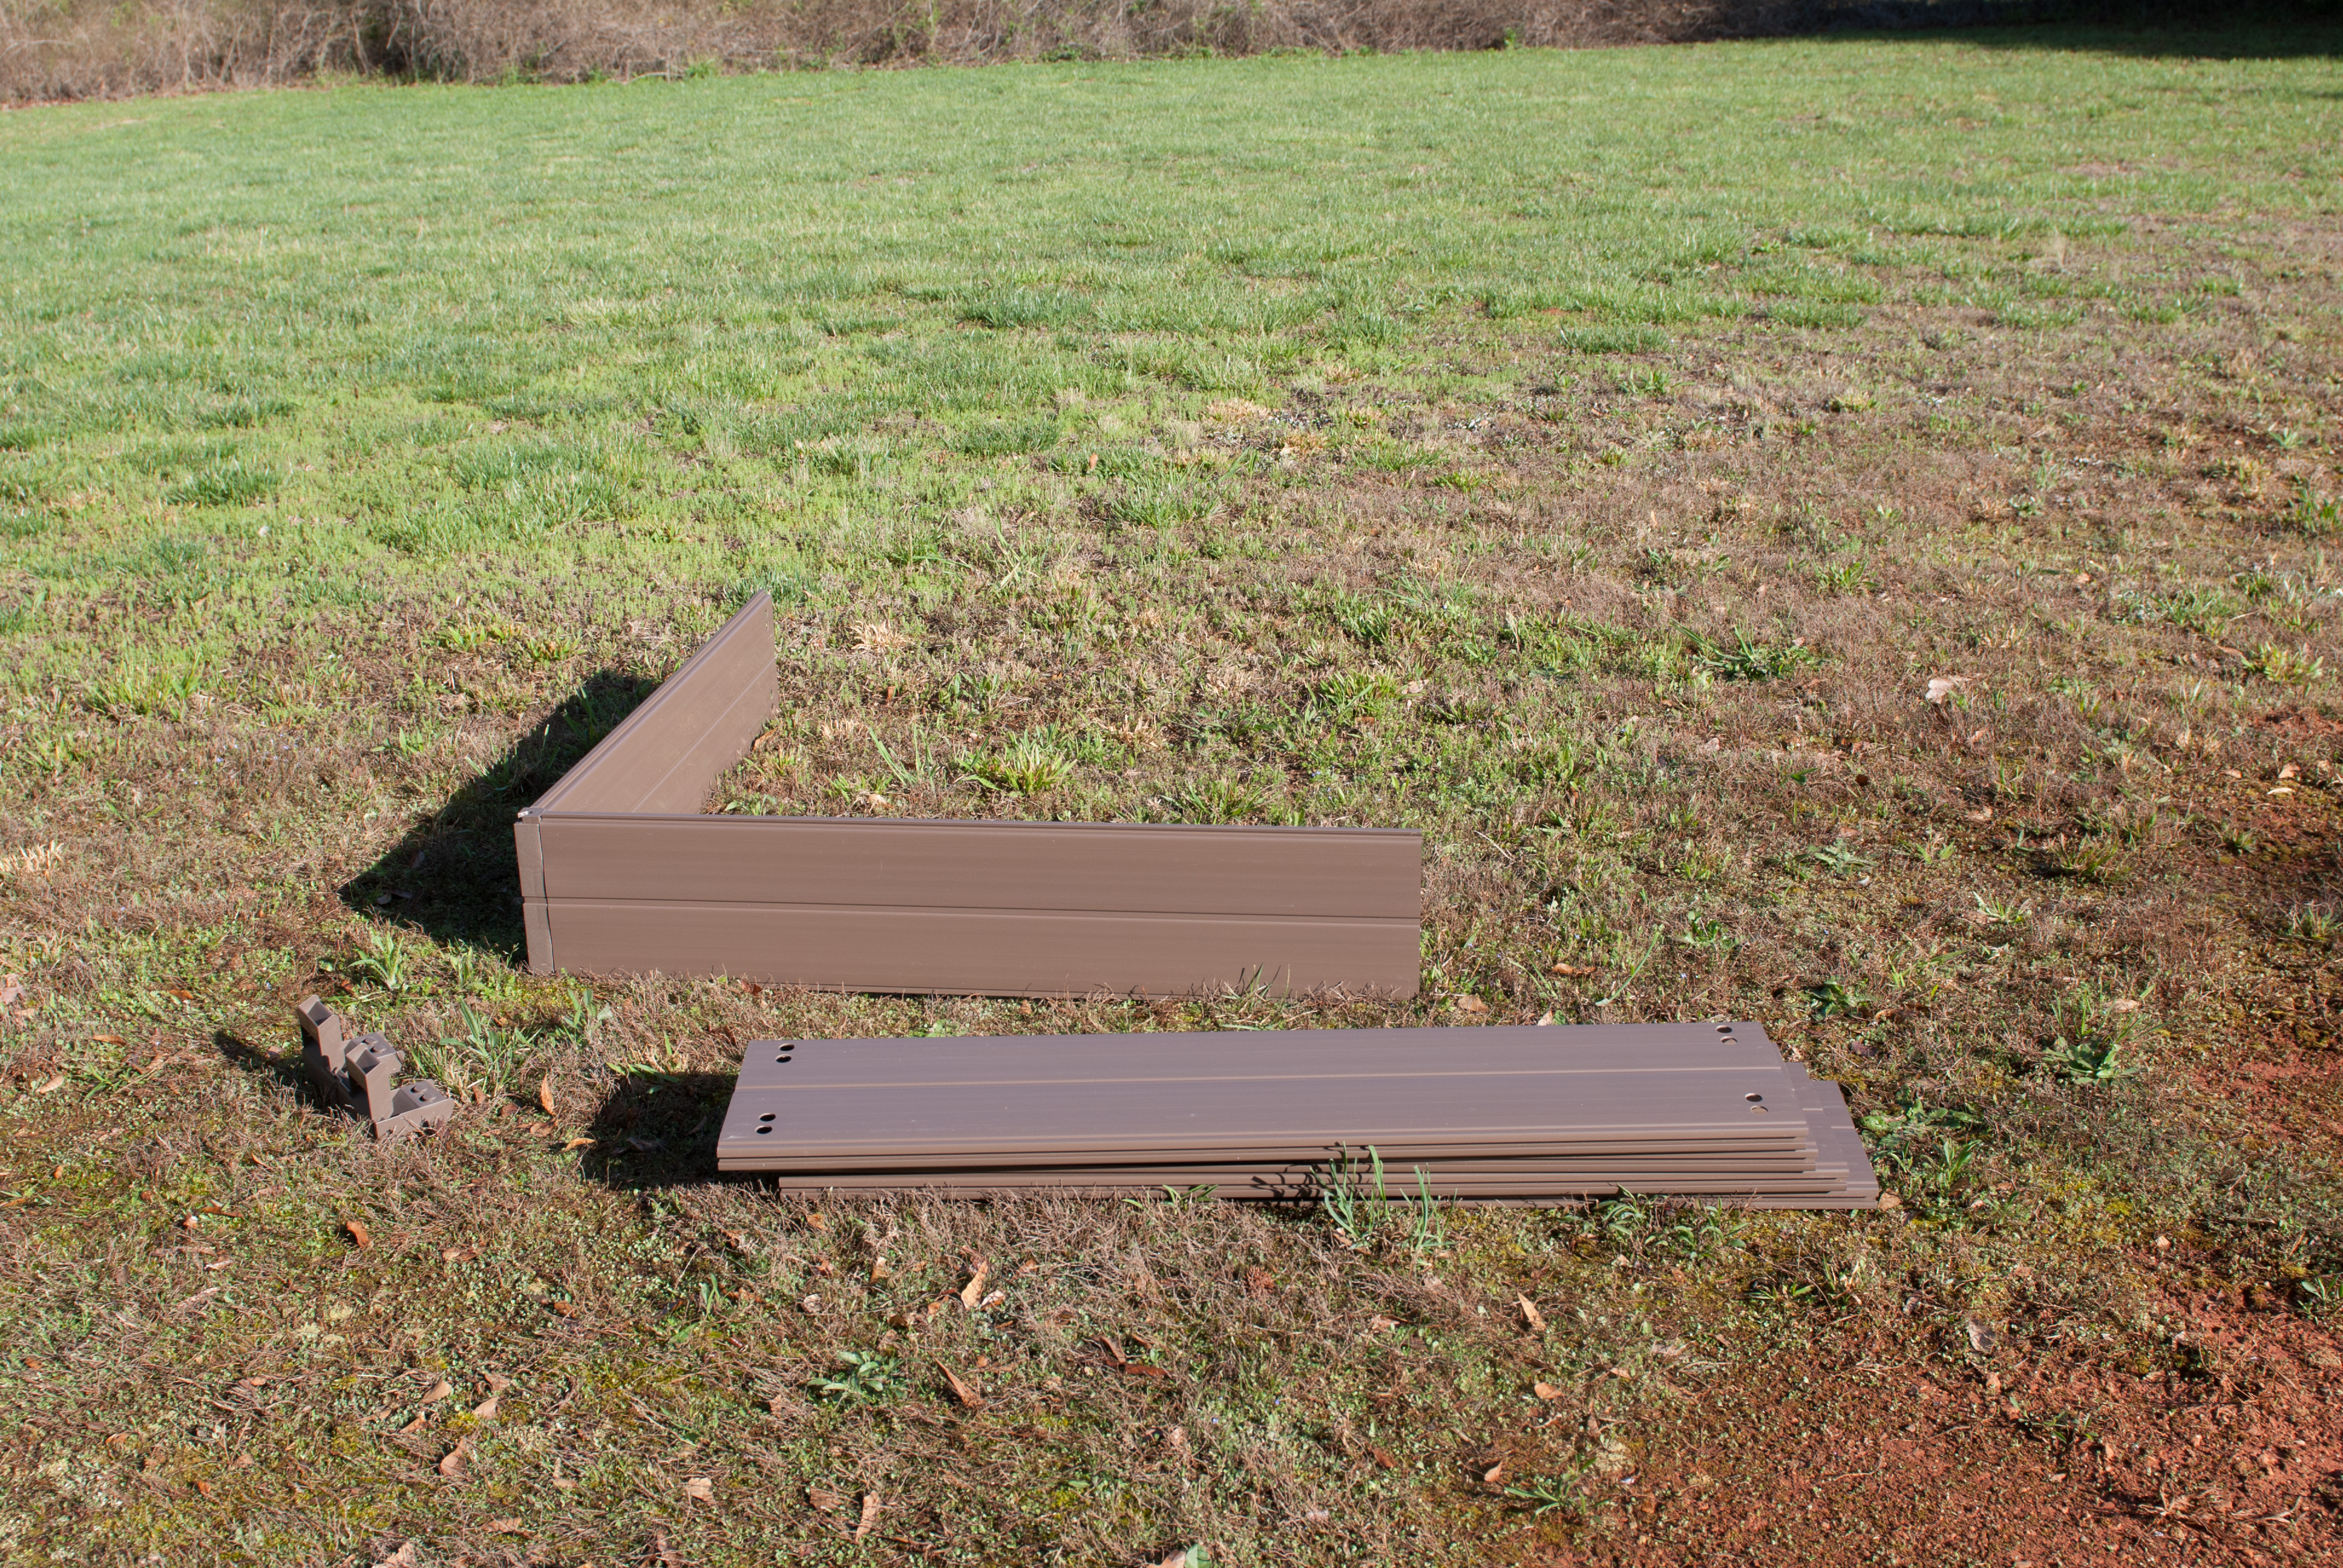
Assemble the Beds
The directions said that no tools were required, but we found that we did need a hammer for the top pieces. The sides snap together into corner pieces, then the short sides slide in (this is where we used the hammer – plastic on plastic isn’t slickery! – so we used a hammer on the cardboard box to nudge them into place)

The box was packed very nicely. All pieces present and accounted for!
First two pieces together!
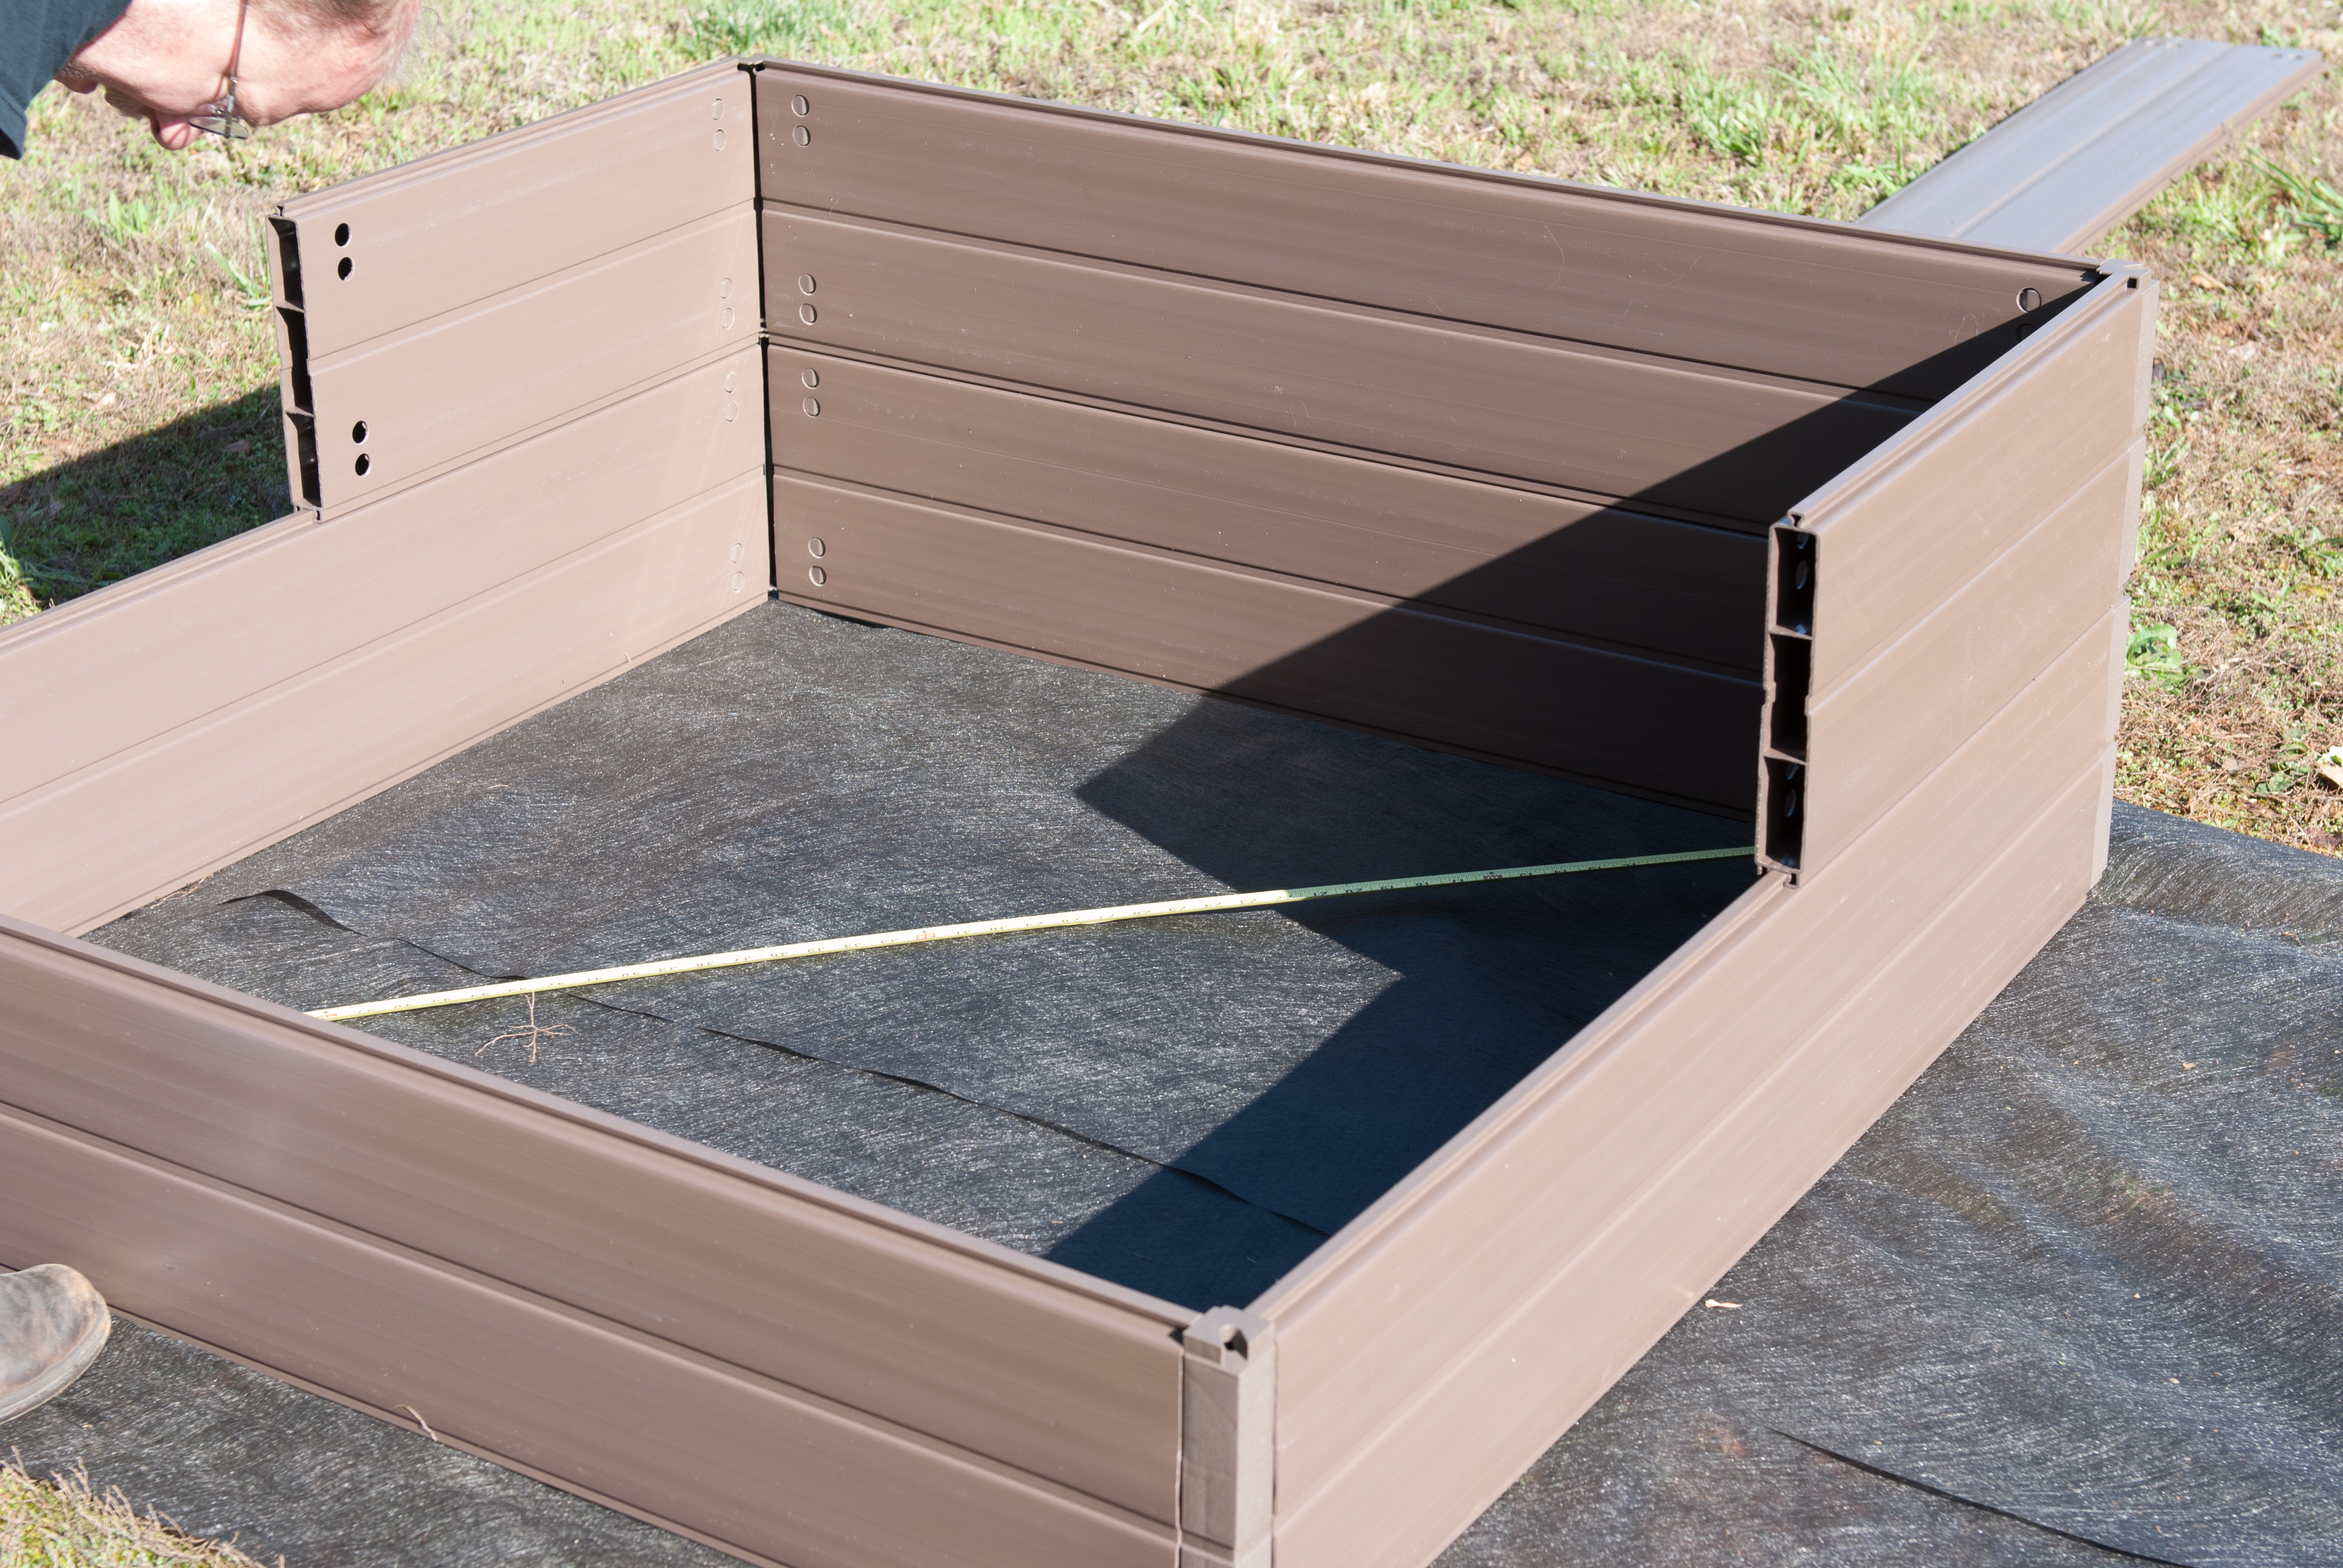
Making sure that the box was square before we attached the final piece.
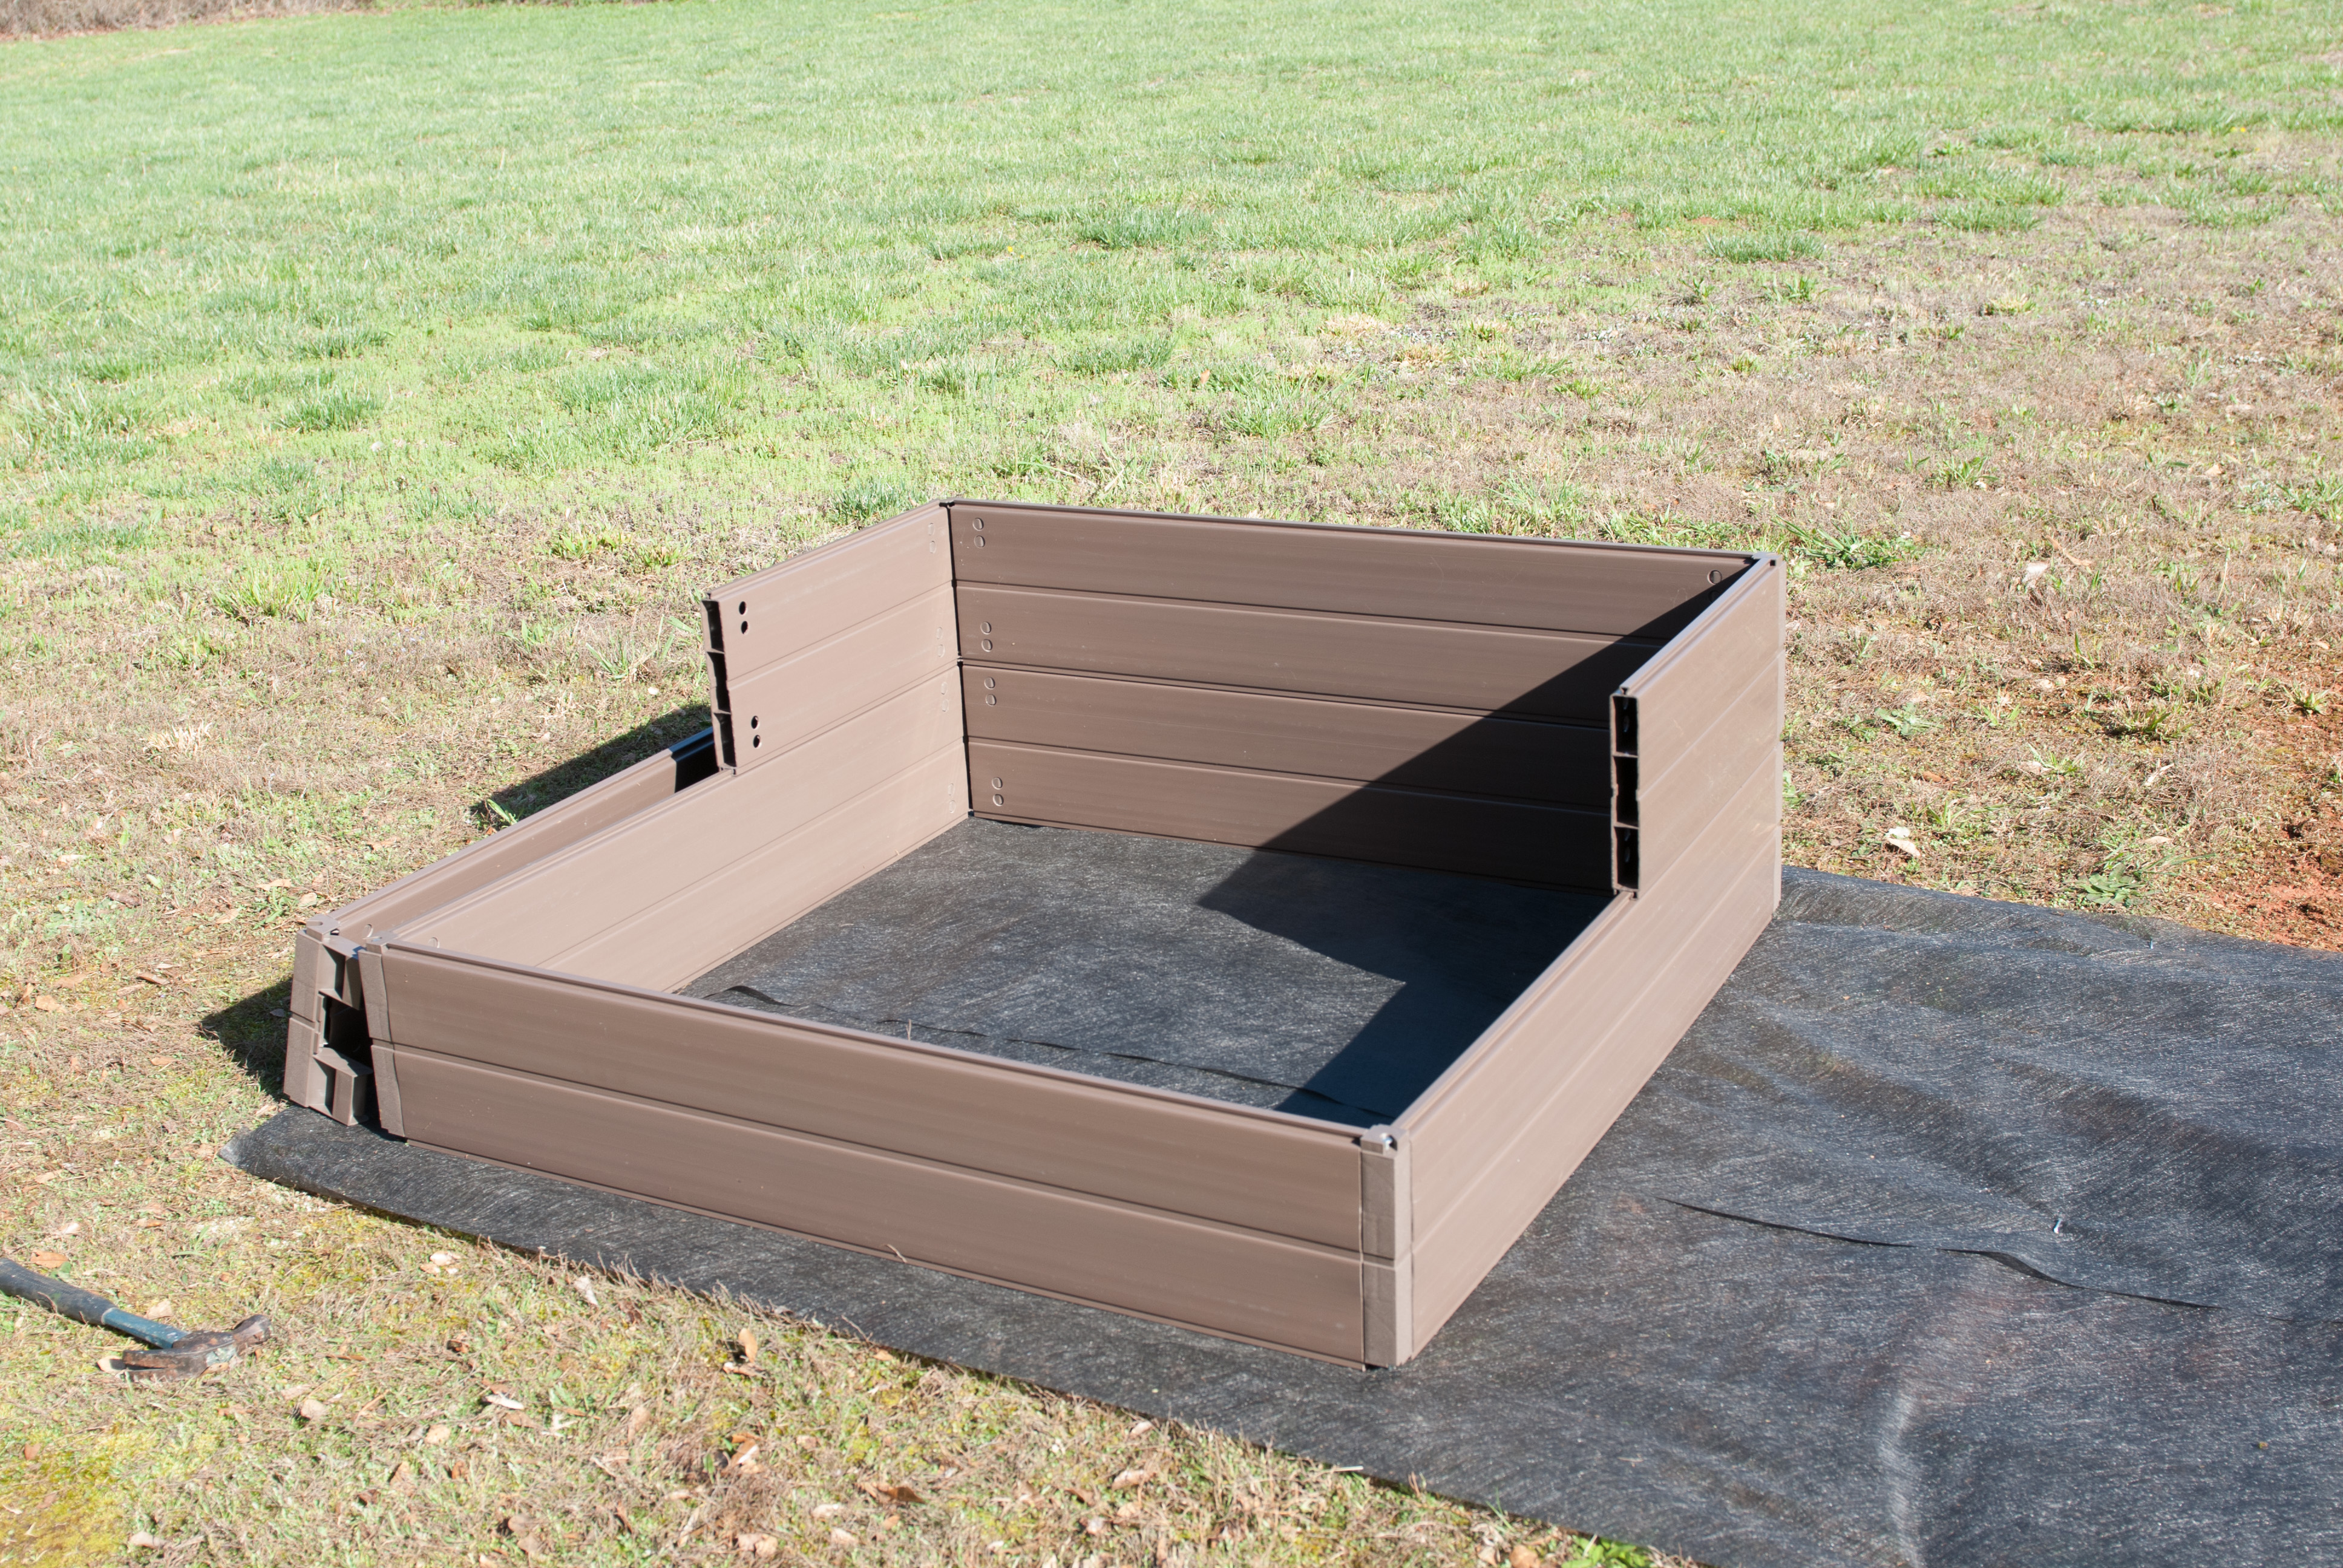
Ready for filling. This is the second box. We decided to wait on putting the last piece on in order to allow more room for mixing up the planting medium. So – on to…
Mix it Up!
That sums up the ingredients. We worked on mixing one bed at a time.
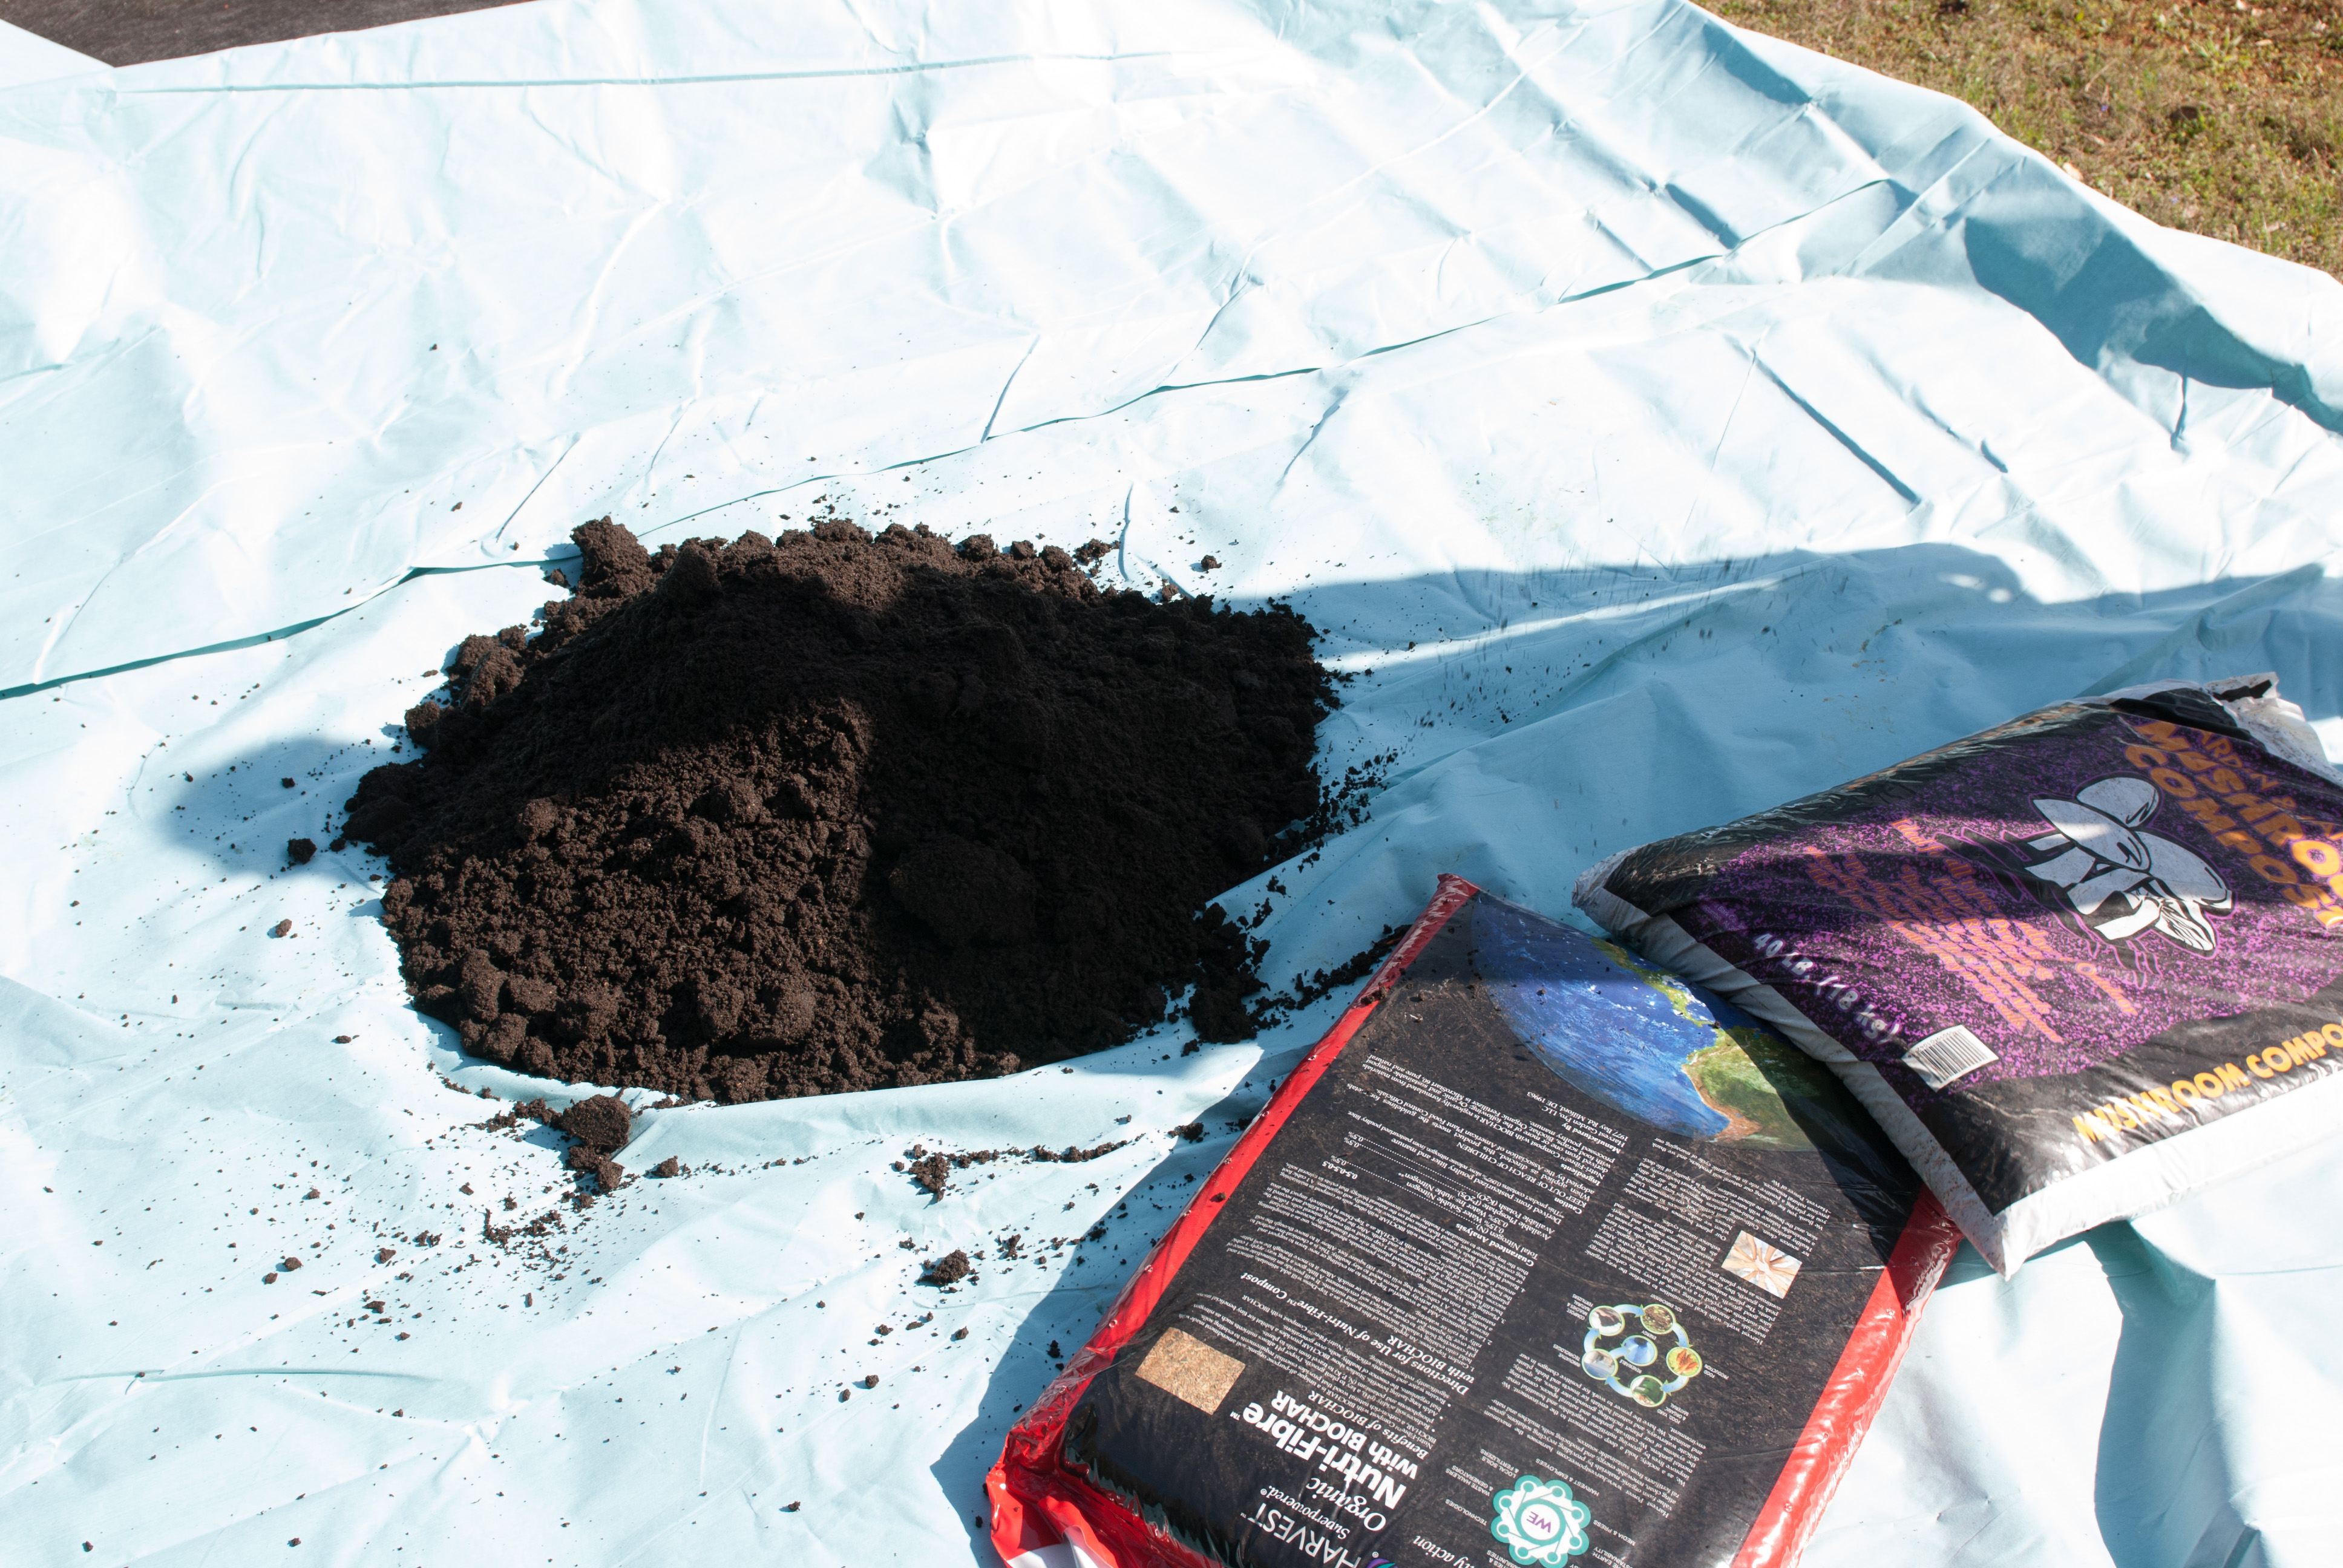
Started with all five of the compost types for the first bed on a tarp (holding the corners, then rolling it around to mix well), then added peat moss and mixed, then the vermiculite and mixed. This worked very well until the tarp ripped. Note to self: Next time, get a canvas tarp with no seams!
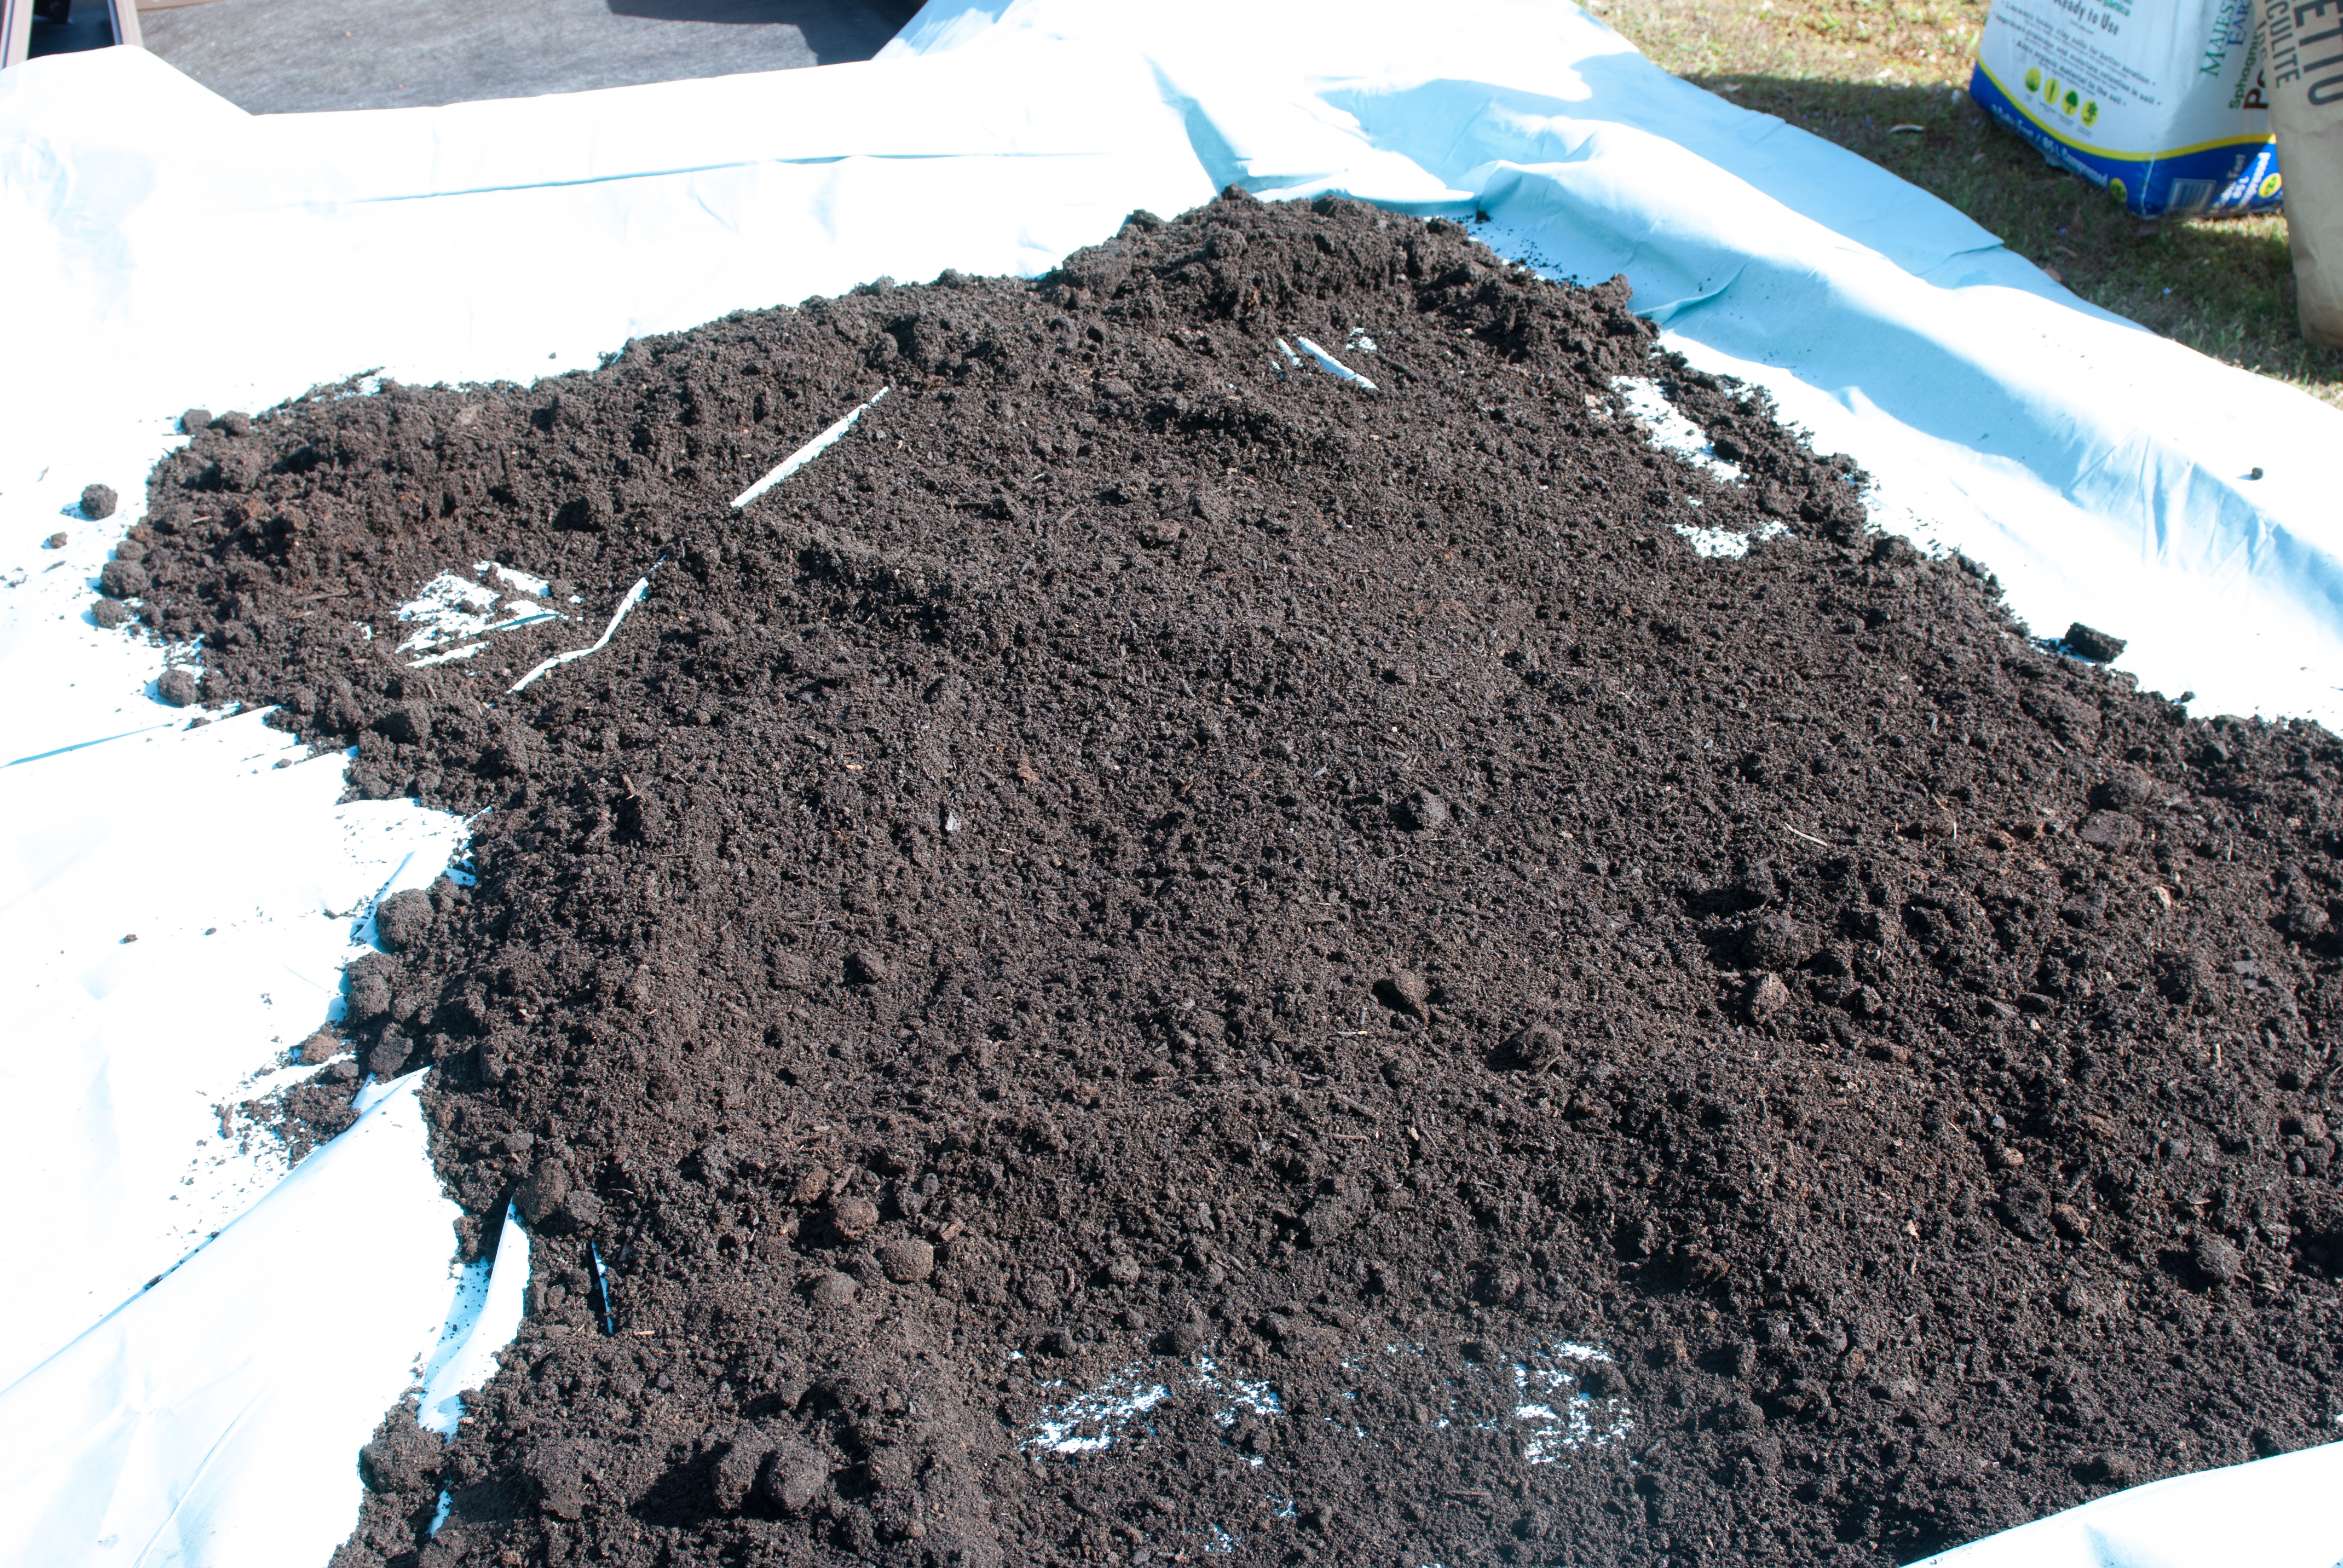
After the tarp ripped, we filled up the second bed by slowly adding little bits of each component, and mixing by hand and with an iron rake. This actually worked surprisingly well! Success!
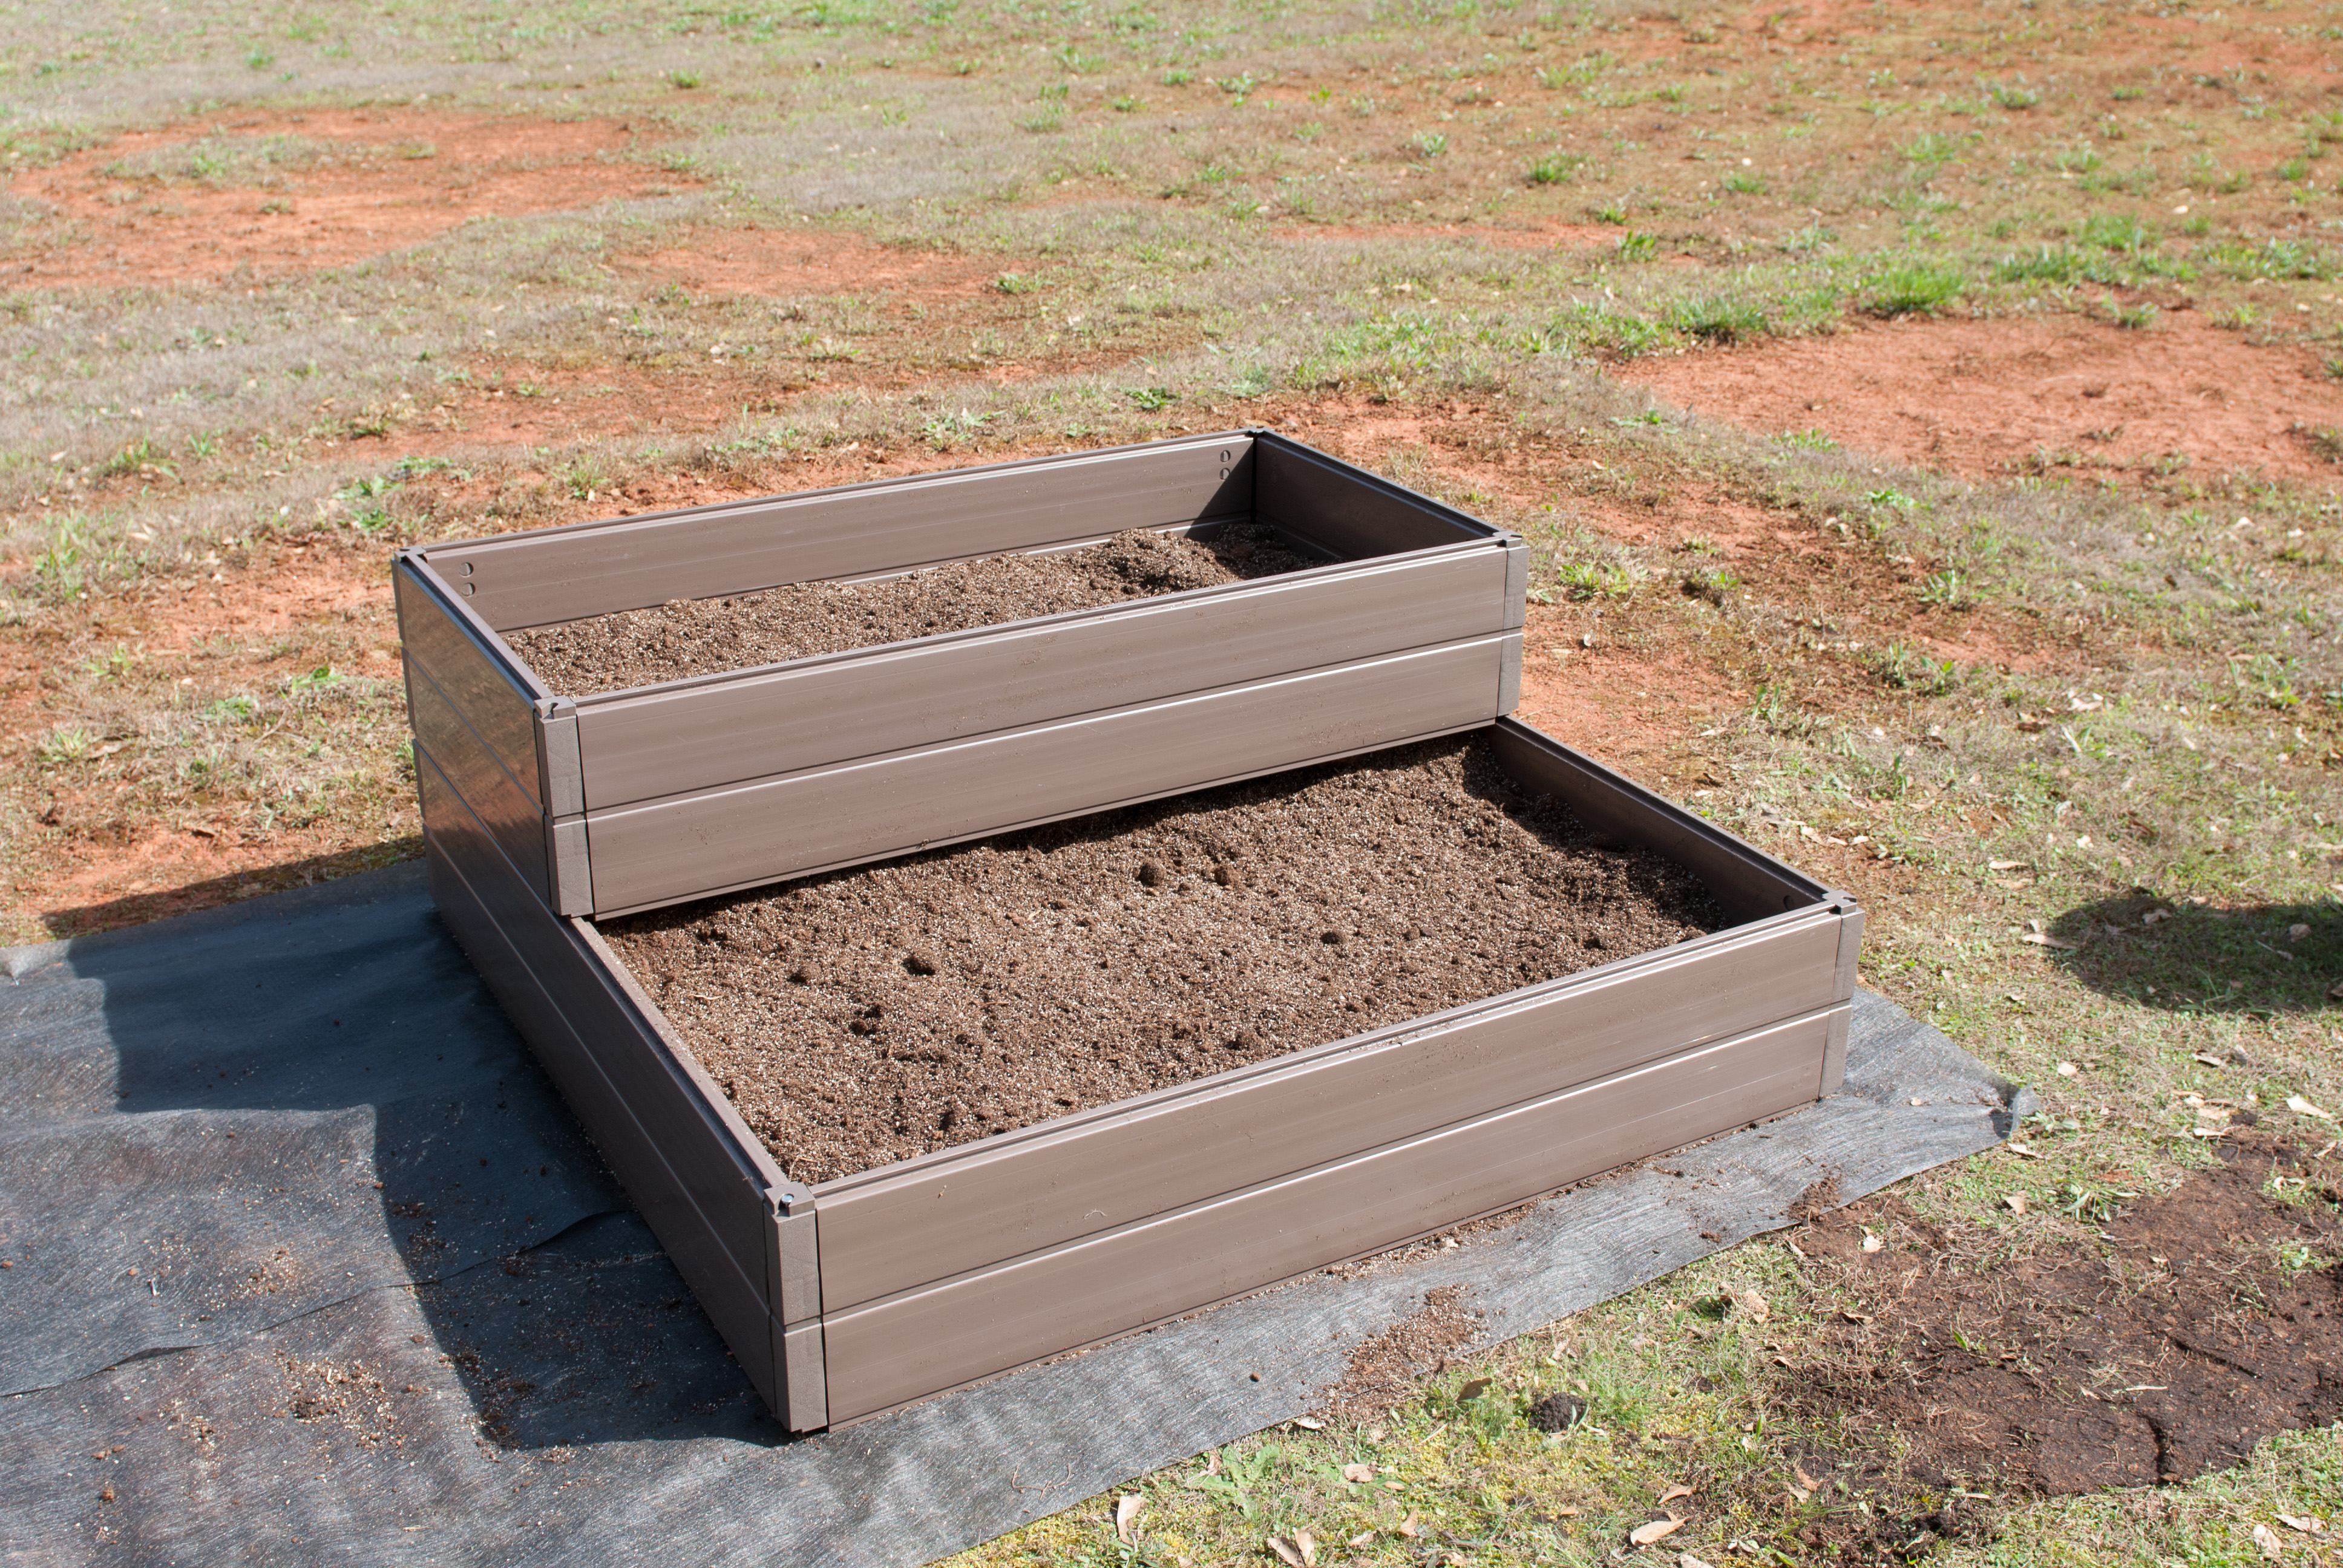
All filled up! This is the tarp mixed medium. We’re going to add a bit more compost/vermiculite in order to raise the level of the soil in the both levels.
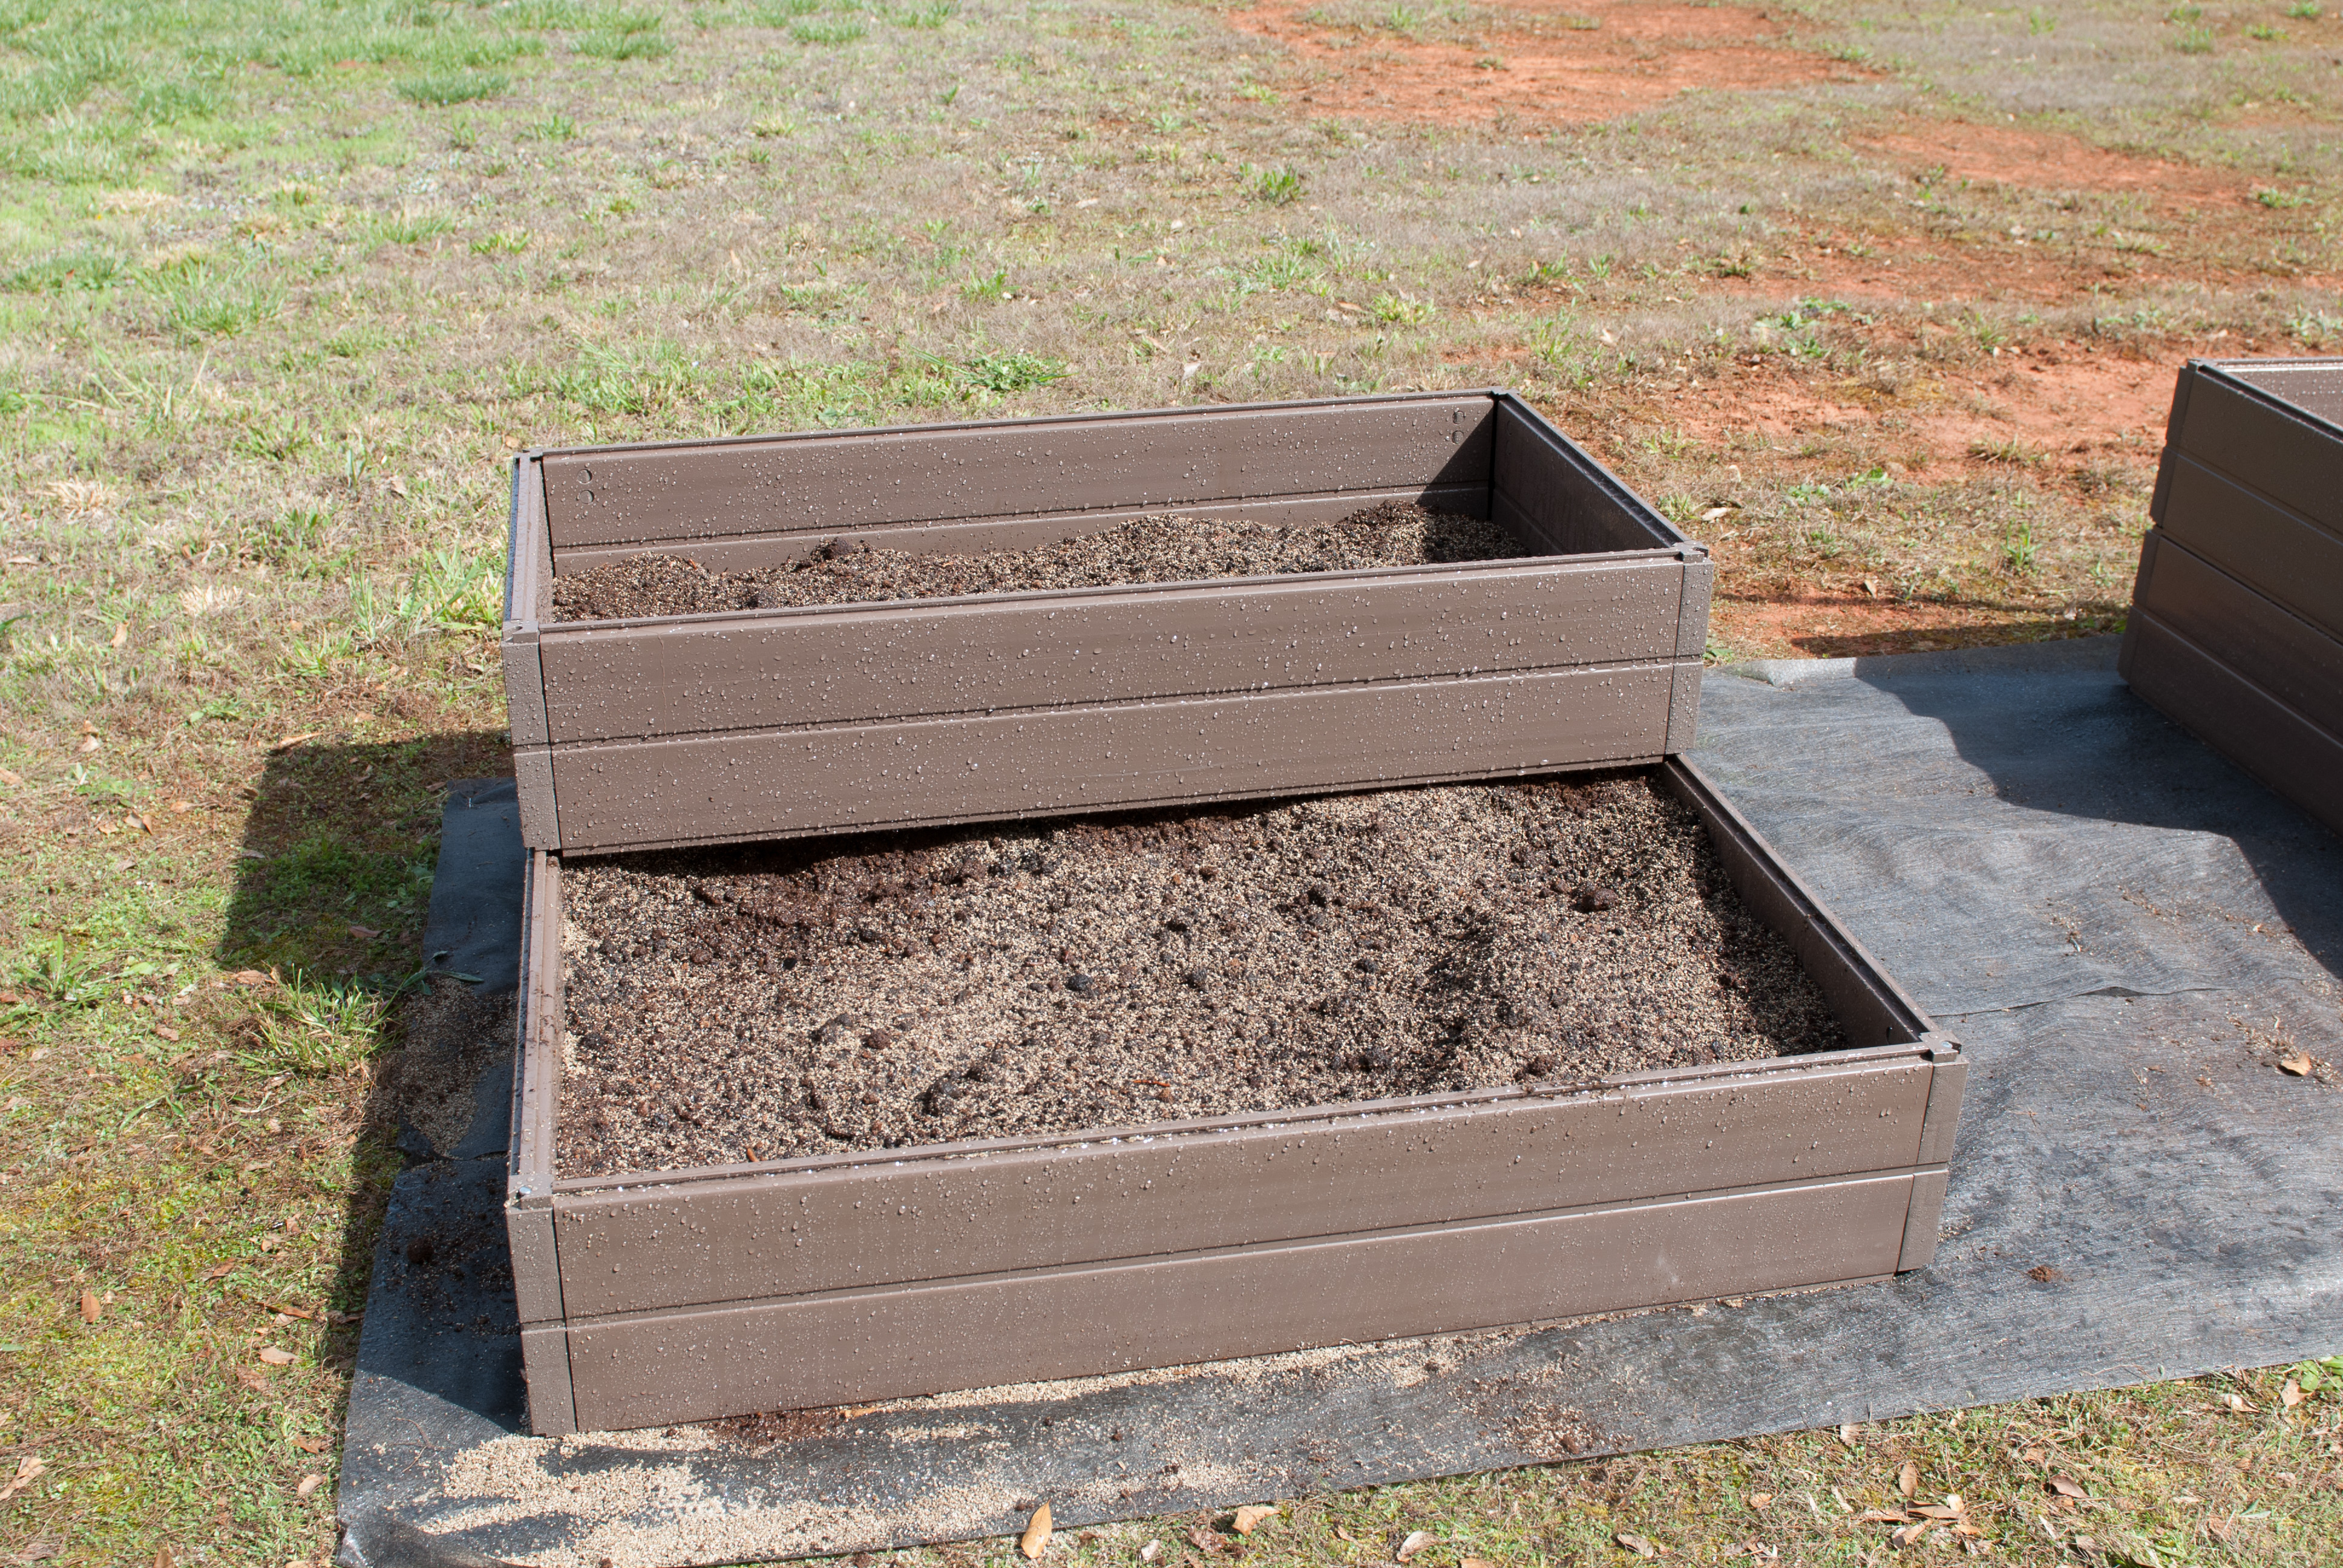
This is the one we mixed by hand. You can see more vermiculite in this mix, but after more mixing, they look almost exactly the same.
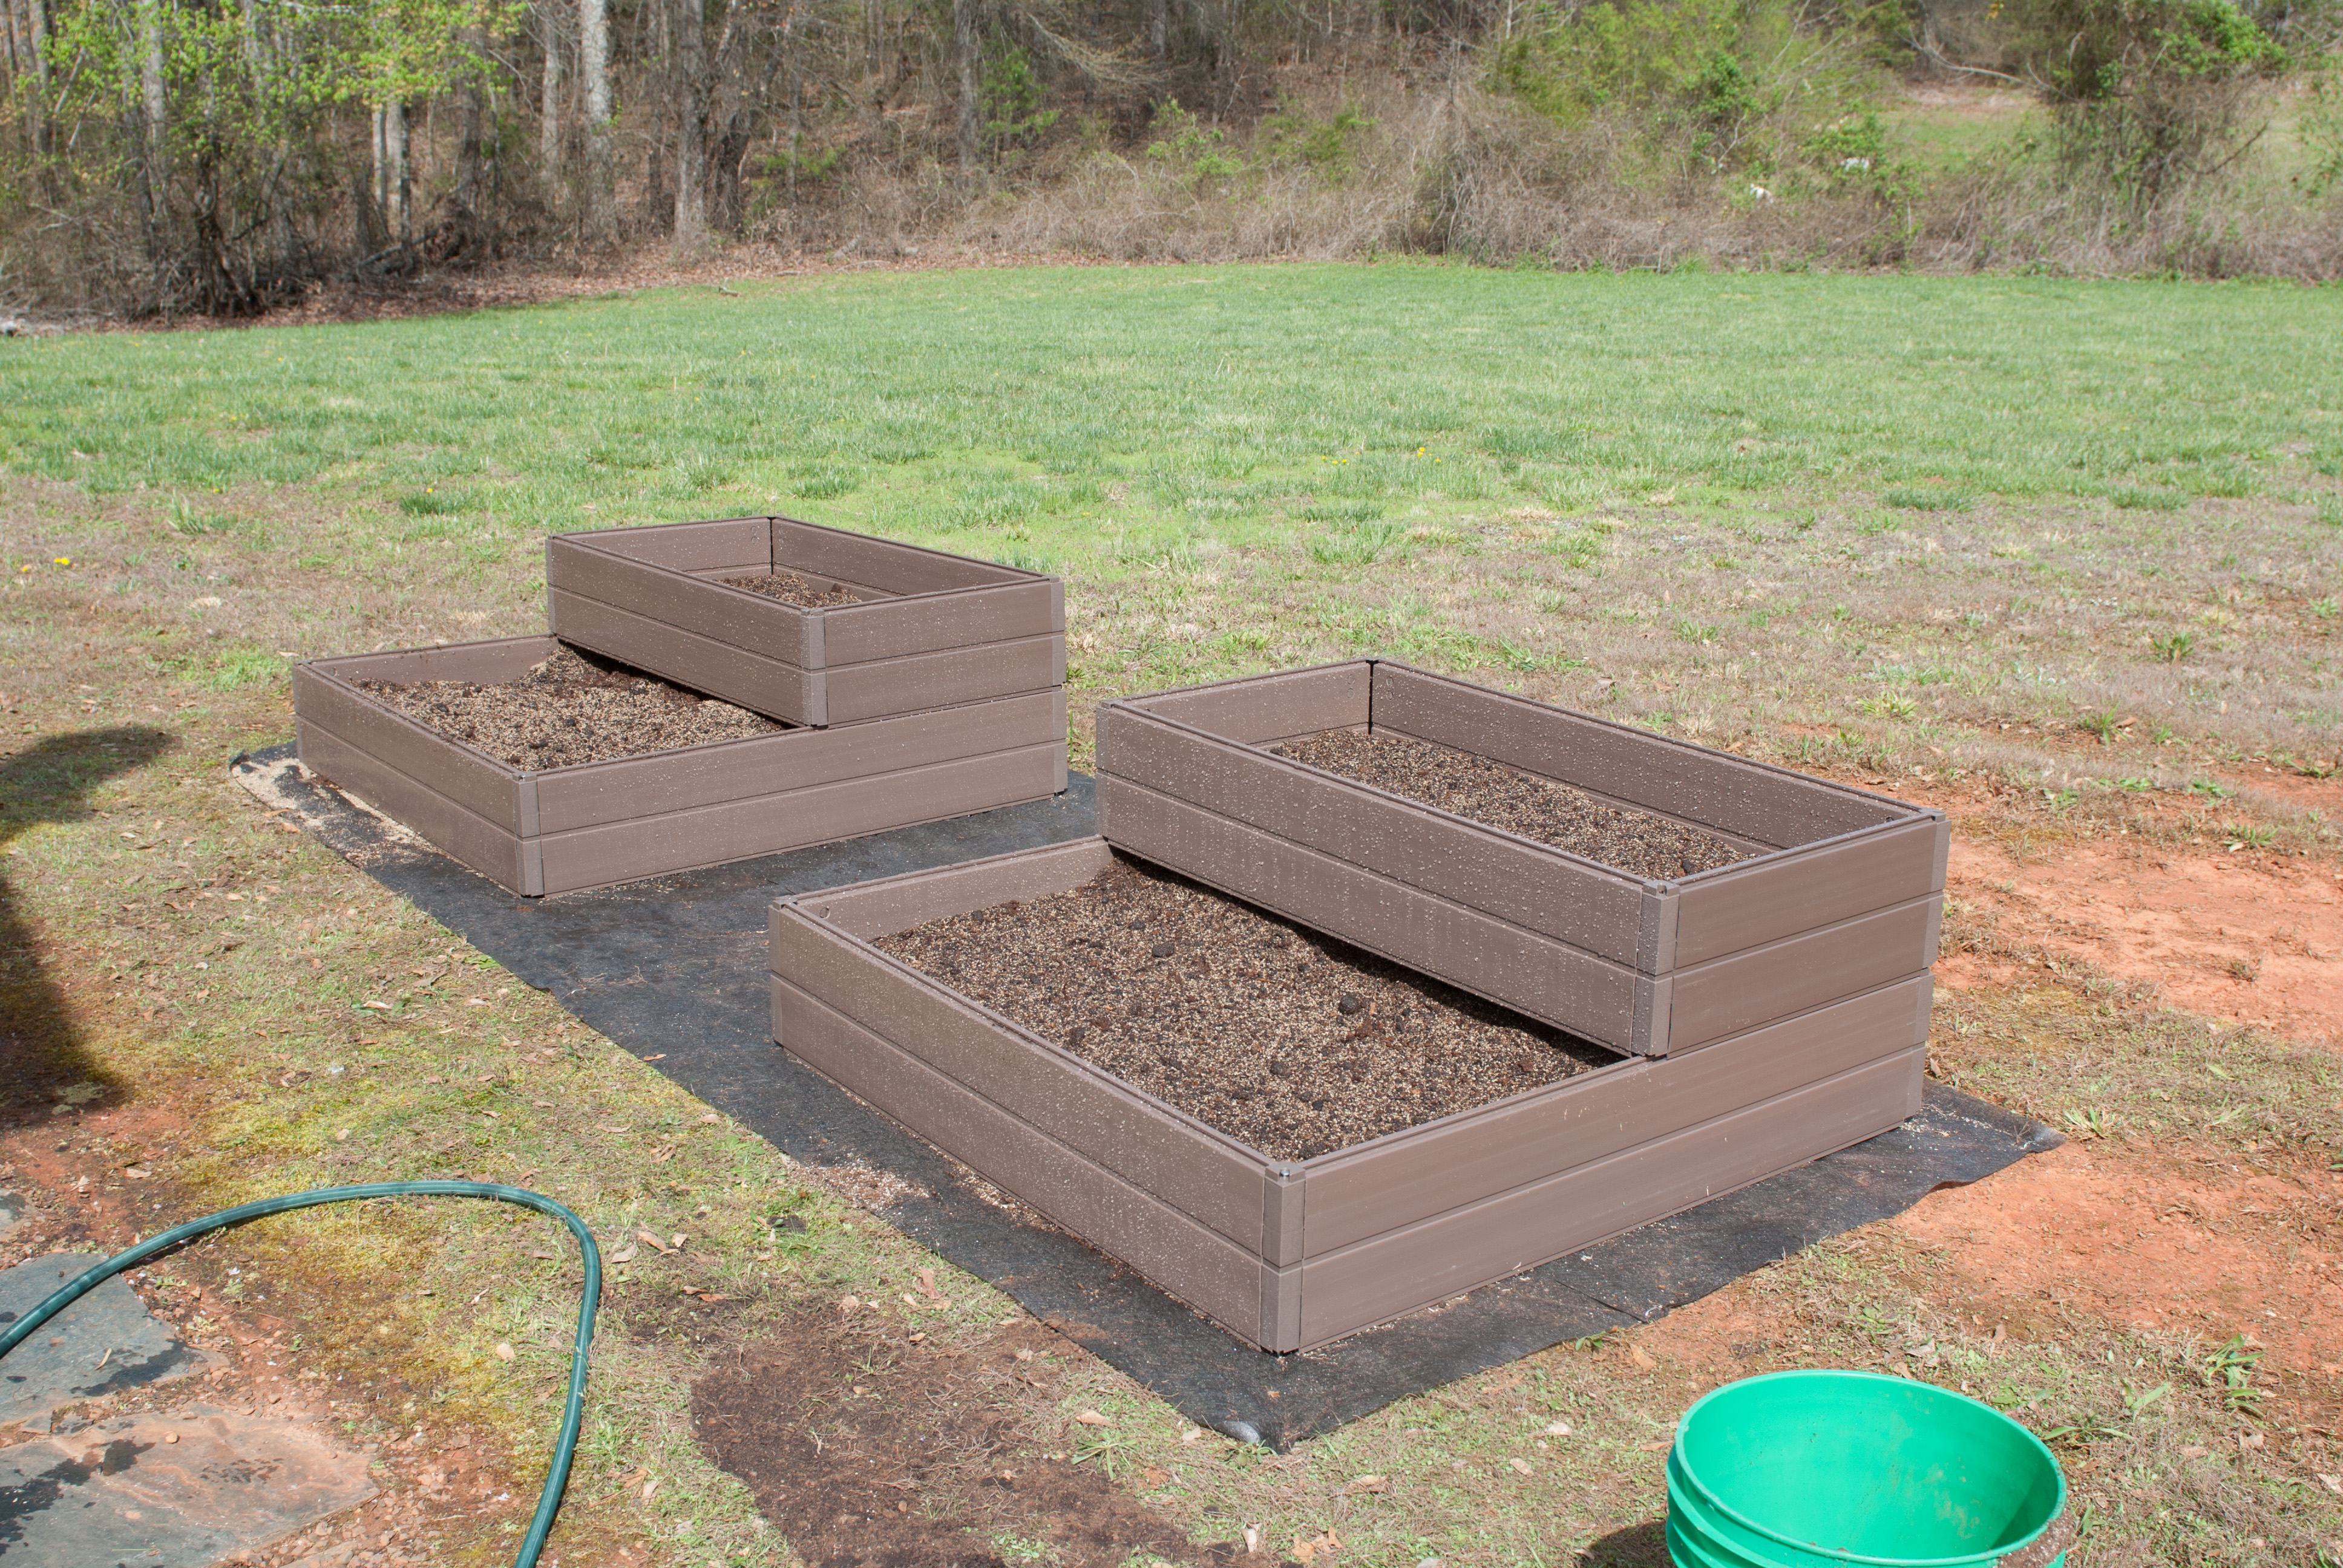
Both beds ready for planting!
Next week: Plant Selection and planting!