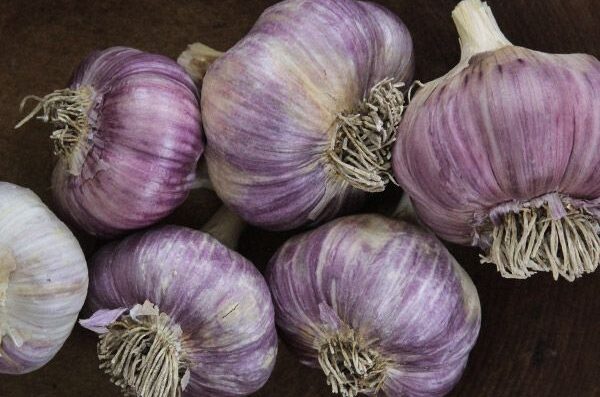
Russian Red Garlic, that is. Look at these beautiful heads of garlic. We’re trying something new this year and have planted garlic. It’s an experiment, but we’re optimistic!
We love garlic in our household and recently saw a great show on growing it at home (Grow, Cook, Eat on Amazon Prime). It looked pretty easy, so we figured we’d give it a shot this year. As it happens, October is the month to get garlic in the ground for harvest next summer.
Let’s first talk types of garlic. Did you know that there are two types of garlic? I didn’t, but soon learned about hardneck and softneck varieties. The “neck” in the names refers to the stalk that grows upward from the garlic bulb. Hardneck garlic (as seen above)has a stalk that stems from the center of the bulb and turns rigid at maturity and produce garlic scapes. Softneck stalks are made up of leaves rather than a hard central stalk that remain soft and flexible at maturity. These are the kind that you see in garlic braids. In general, hardnecks have more complex flavors than softneck varieties. If you want to grow the kind of garlic you find in the grocery store, then you want softnecks. They are generally stocked in stores because of their long shelf life and relatively mild flavor that is right for most recipes. If you want more information on these, The Spruce has a great article.
Needless to say, we chose hardnecks. The combination of the complex flavor profile and the garlic scapes that we can harvest in early summer made the decision easy for us. We’d been to the Greenville Downtown Market a few years ago, bought garlic from a local grower, and have dreamed of it ever since. Turns out it was a hardneck variety.
So – on to the great garlic experiment. I ordered up a half pound of Russian Red garlic from Baker Creek Heirlooms to plant. Note that it is only available for a short time each year in the fall. It turns out that a half pound of garlic is roughly 5 heads. The cloves are much larger and heavier than what you’d get at a grocery store. The outer paper is also a beautiful shade of purple. Isn’t it pretty?
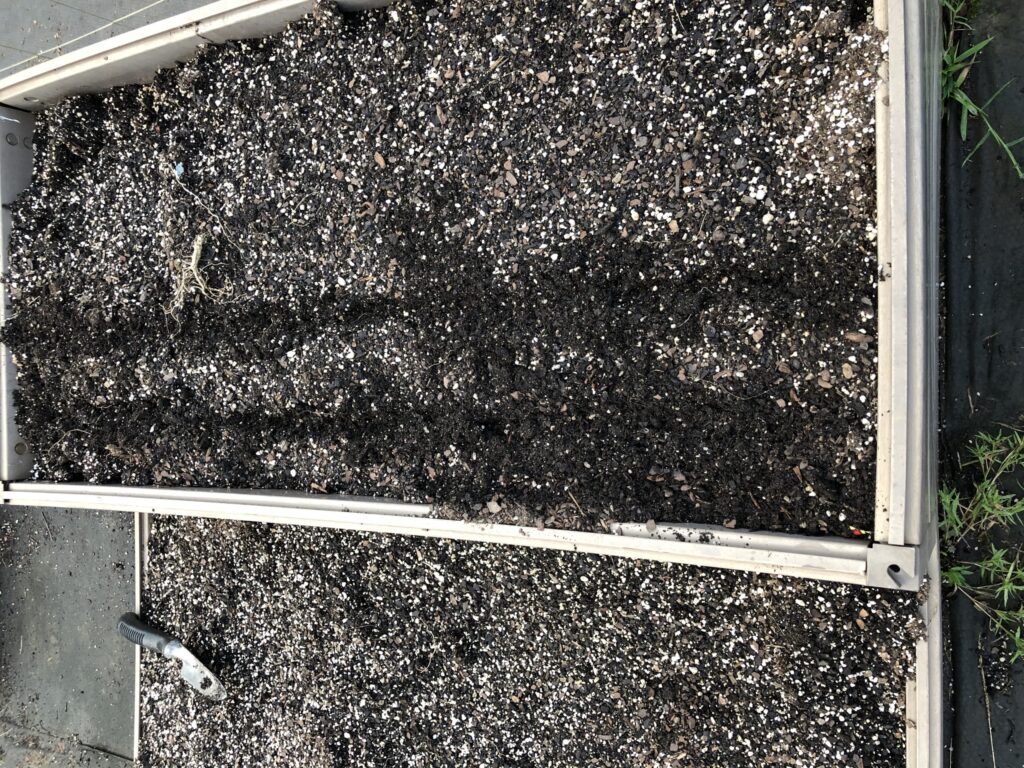
Next we prepped the beds. We’d already cleared out the remains of the summer plants. (The garden this summer is another story. Let’s just say that the only success this summer was in the peppers. The tomatoes got overrun with worms and tomato bugs pretty early on and I was very disheartened. So – moving on…..)
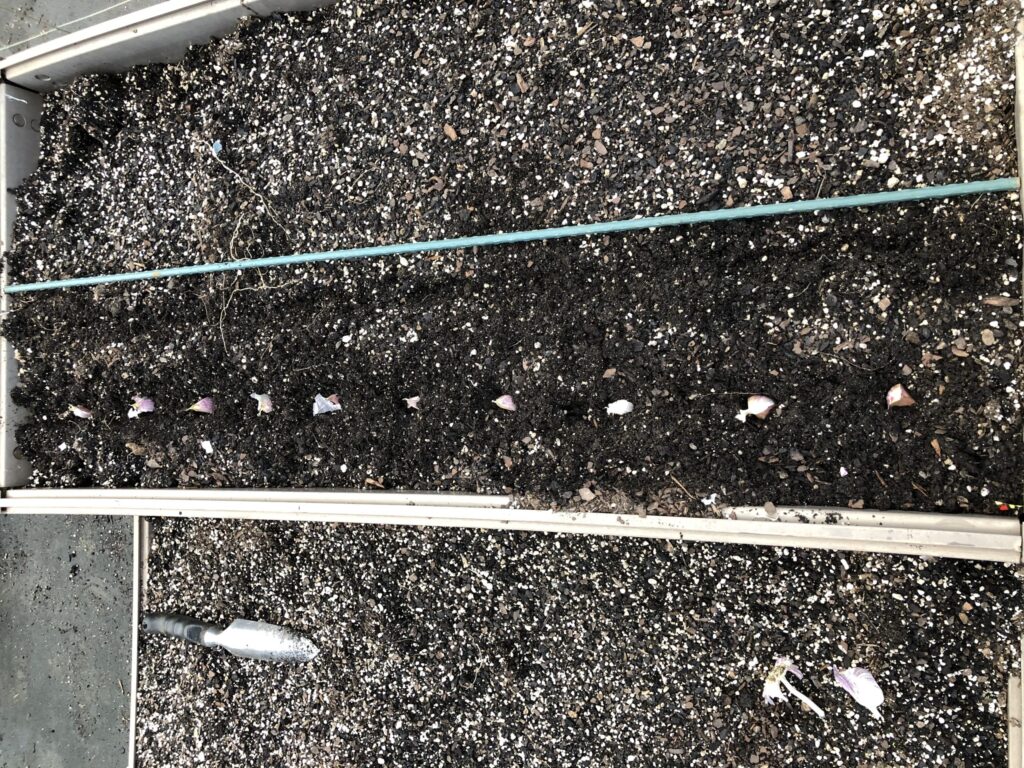
As you can see, I just ran a trowel about 4″ apart in two rows to get the bed ready for the garlic planting.
Next task – separate the bulbs. This should be done right before planting and needs to be done carefully so that the bulbs don’t bruise. They should be planted 2″ deep and 4″ apart with the pointy end up. I know you’ve had garlic in the pantry that’s started to grow, right? It’s happened to us tons of times. That’s the end that should be up. Leave the papery skin on. Easy!
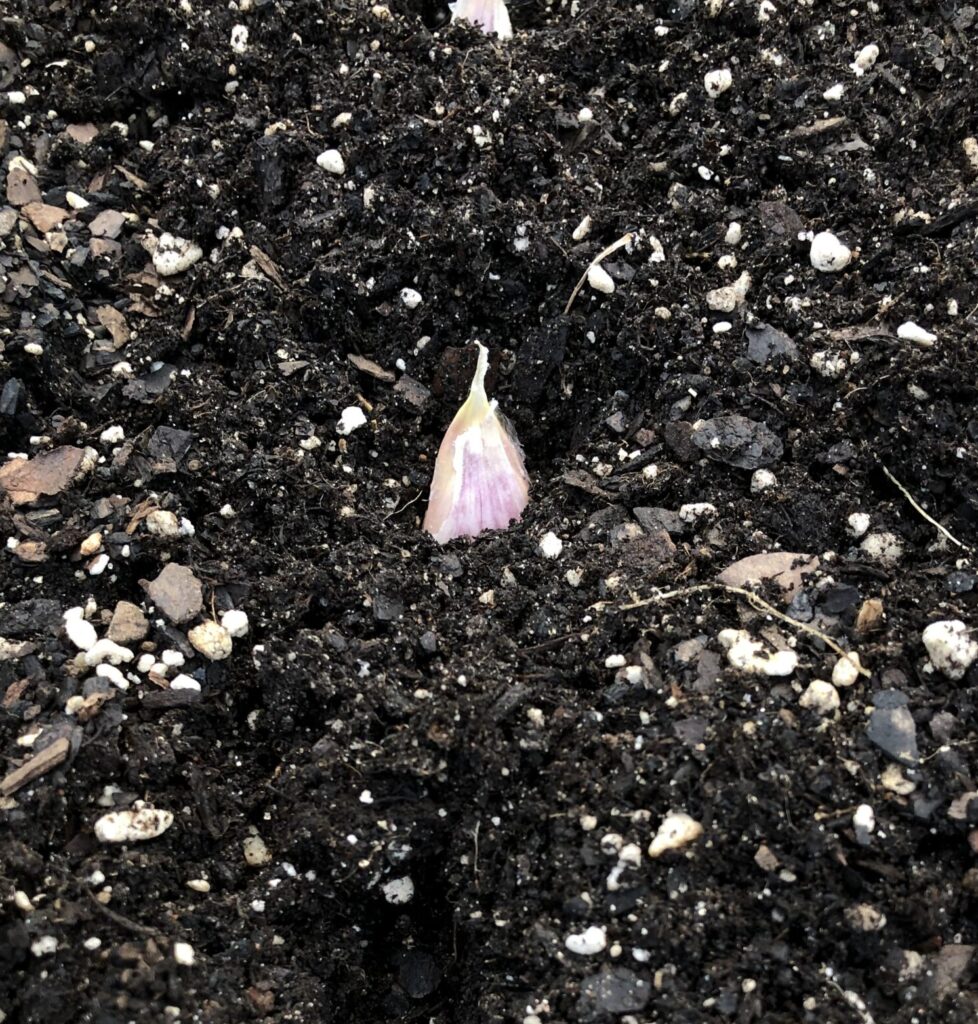
Take a look here at a whole row planted.
Follow along with the next row, until you’ve planted as many as you want. (I guess I should say that every clove that you plant will grow into a whole bulb!)
We planted 4 whole bulbs which amounted to about 25 cloves over the two beds. I just divided the top beds horizontally and planted the front sections – 4′ on one bed and 2′ on the other. I figure that I can use the back section for peas in the early spring.
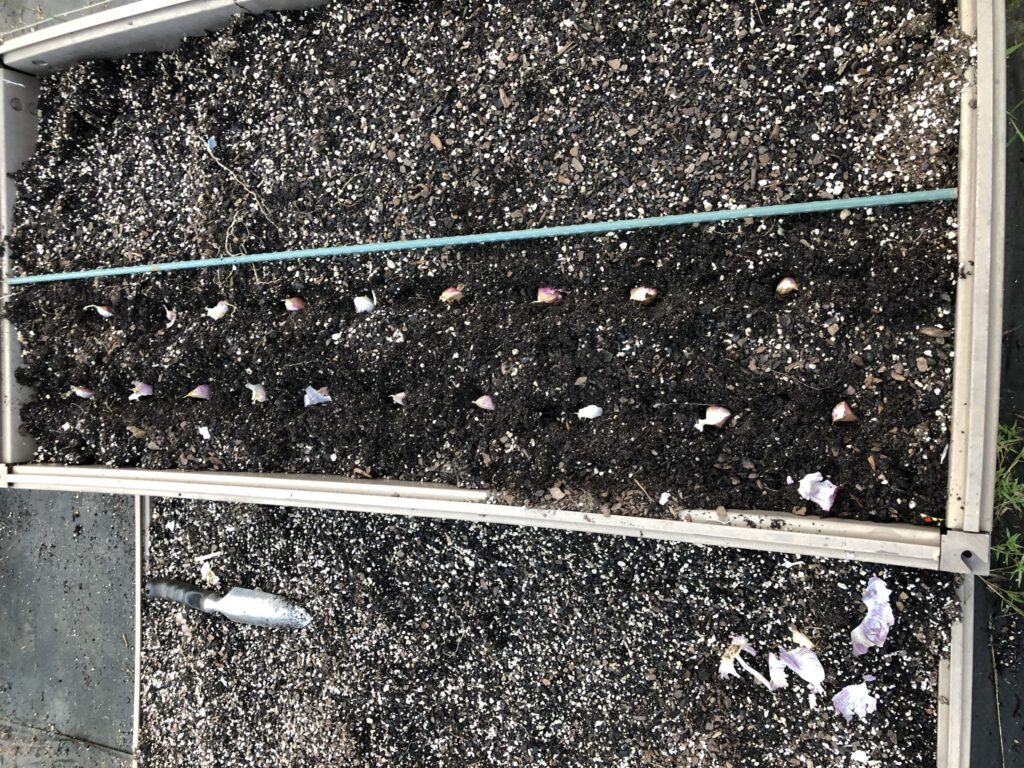
Once you’ve got everything planted, go ahead and cover them up and water them in. Here are our beds ready to grow.
Now we just have to wait until they’re ready in July. We can’t wait!
We’ll know when it’s ready to harvest with this information from Baker Creek:
“Garlic is ready for harvesting when the bulbs are completely filled out and plump. Watch for the bottom two leaves to brown and die back and for the rest of the plant to begin to yellow. Test dig a few bulbs to determine if crop is ready. Discontinue irrigation for about two weeks prior to harvest. Do not pull garlic up by the stalk but lift the garlic by digging with a fork or shovel. Harvested garlic should be spread out or hung away from direct sunlight for two to three weeks to cure (air conditioned location is okay). Make sure curing bulbs have adequate air circulation and are not piled atop of one another.”